#1 - Still Life - Acrylic on 5 x 5 canvas panel.
One Year/100 Paintings
I started off Create-A-Thon 2017 with a pretty ambitious goal of trying a new creative material or technique each week, attempting several monthly challenges, and completing a six month Instax Mini film project.
I completed my six month 26 Instax Packs project of using different instax mini cameras, creative techniques, and decorative film frames, most of which came from ebay. There are many more decorative film frames that I would like to get to add to my collection.
Other successful projects were filling an entire 110 page 8 1/2 by 11 sketchbook in 30 days, and filling a Brooklyn Art Library Sketchbook Project book for the yearly Inktober challenge.
Things that I didn't get to this year were to make prints in my darkroom, and building some of the models in my anatomy collection. I ran out of energy and time to complete the weekly creative material or technique around about July when I was working on Sketchbook Summer and trying to do World Watercolor month at the same time. And I took a break from film shooting and developing for most of the year, focusing instead on using my different instant film cameras.
Though I wasn't able to complete my yearlong weekly Create-A-Thon 2017 as I envisioned, I discovered creative things that I really enjoy doing, like making digital collages on my iPad Pro with Apple Pencil, ballpoint pen scribble art, acrylic plein air painting, and urban sketching.
So, that brings me to this year's creative challenge, or focus - One Year/100 Paintings. I've been listening to several art-related podcasts and the message is that to get better at painting, you just need to paint more. I found that I really enjoy plein air painting and hope that I can do a majority of the 100 paintings in that manner. The focus will be on acrylic painting but I may vary the medium as the year progresses. I will be starting off with smaller 4x4, 5x7, and 8x10 size paintings on panels and explore different painting styles - plein air, still life, live model, from photograph reference, and copying masterworks to discover my painting style.
Look for my posts and updates on the socials - facebook - instagram - twitter.
Meowy Christmas
Smoove Catz - Christmas Shopping
Sherman T. Skully Decorates the Tree
EDC Maxpedition Essentials
This fall I became somewhat fascinated with everyday carry bags. I wanted to put together a small sketching bag to carry with me when we would go out for dinner, hiking, daytrip etc. with a few extras thrown in. I found a Beefy Maxpedition utility bag that seemed to fit the bill and filled it with everything I thought I might need. The only thing that doesn't fit in there is my iPad mini, but I can carry that separately when needed. I think I went a little overboard with the contents, but here is what's in the bag -
White Uniball Signo gel pen
Platinum Preppy fine nib fountain pen - Platinum green ink
Uniball Deluxe Micro rollerball pen
Adonit Jot Pro iPad/iPhone stylus
Fisher Stowaway pen
Carbon water soluble pencil
Blue-Red sketching pencil
Niji flat tip waterbrush
Niji large waterbrush
Pentel Fude Brush pen
Blackwing Pearl pencil
Bic Multi pen with mechanical pencil
Pitt Artist Brush Pen Broad Tip White
Lightning cable
Mini USB cable
Apple Ear buds
Pentallic Drawing Pencil and Charcoal Set
Altoids tin filled with small items
USB SD card reader
Mini Folding Scissors
Mini Tin with medications
Glue Stick
USB Drive
Mini Water Spritzer Bottle
Hand Sanitizer
Glucose Tablets
Pocket Knife
Lighter
Winsor and Newton Pocket Watercolor Kit
Binder Clips
Pocket Notebook
Mini Tool
Emergency Whistle
Carabiner
Stillman and Birn Pocket Sketchbook
I'll have another post for the Urban Sketching bag that I put together this fall coming soon.
Polaroid SX-70 Sonar Reskin
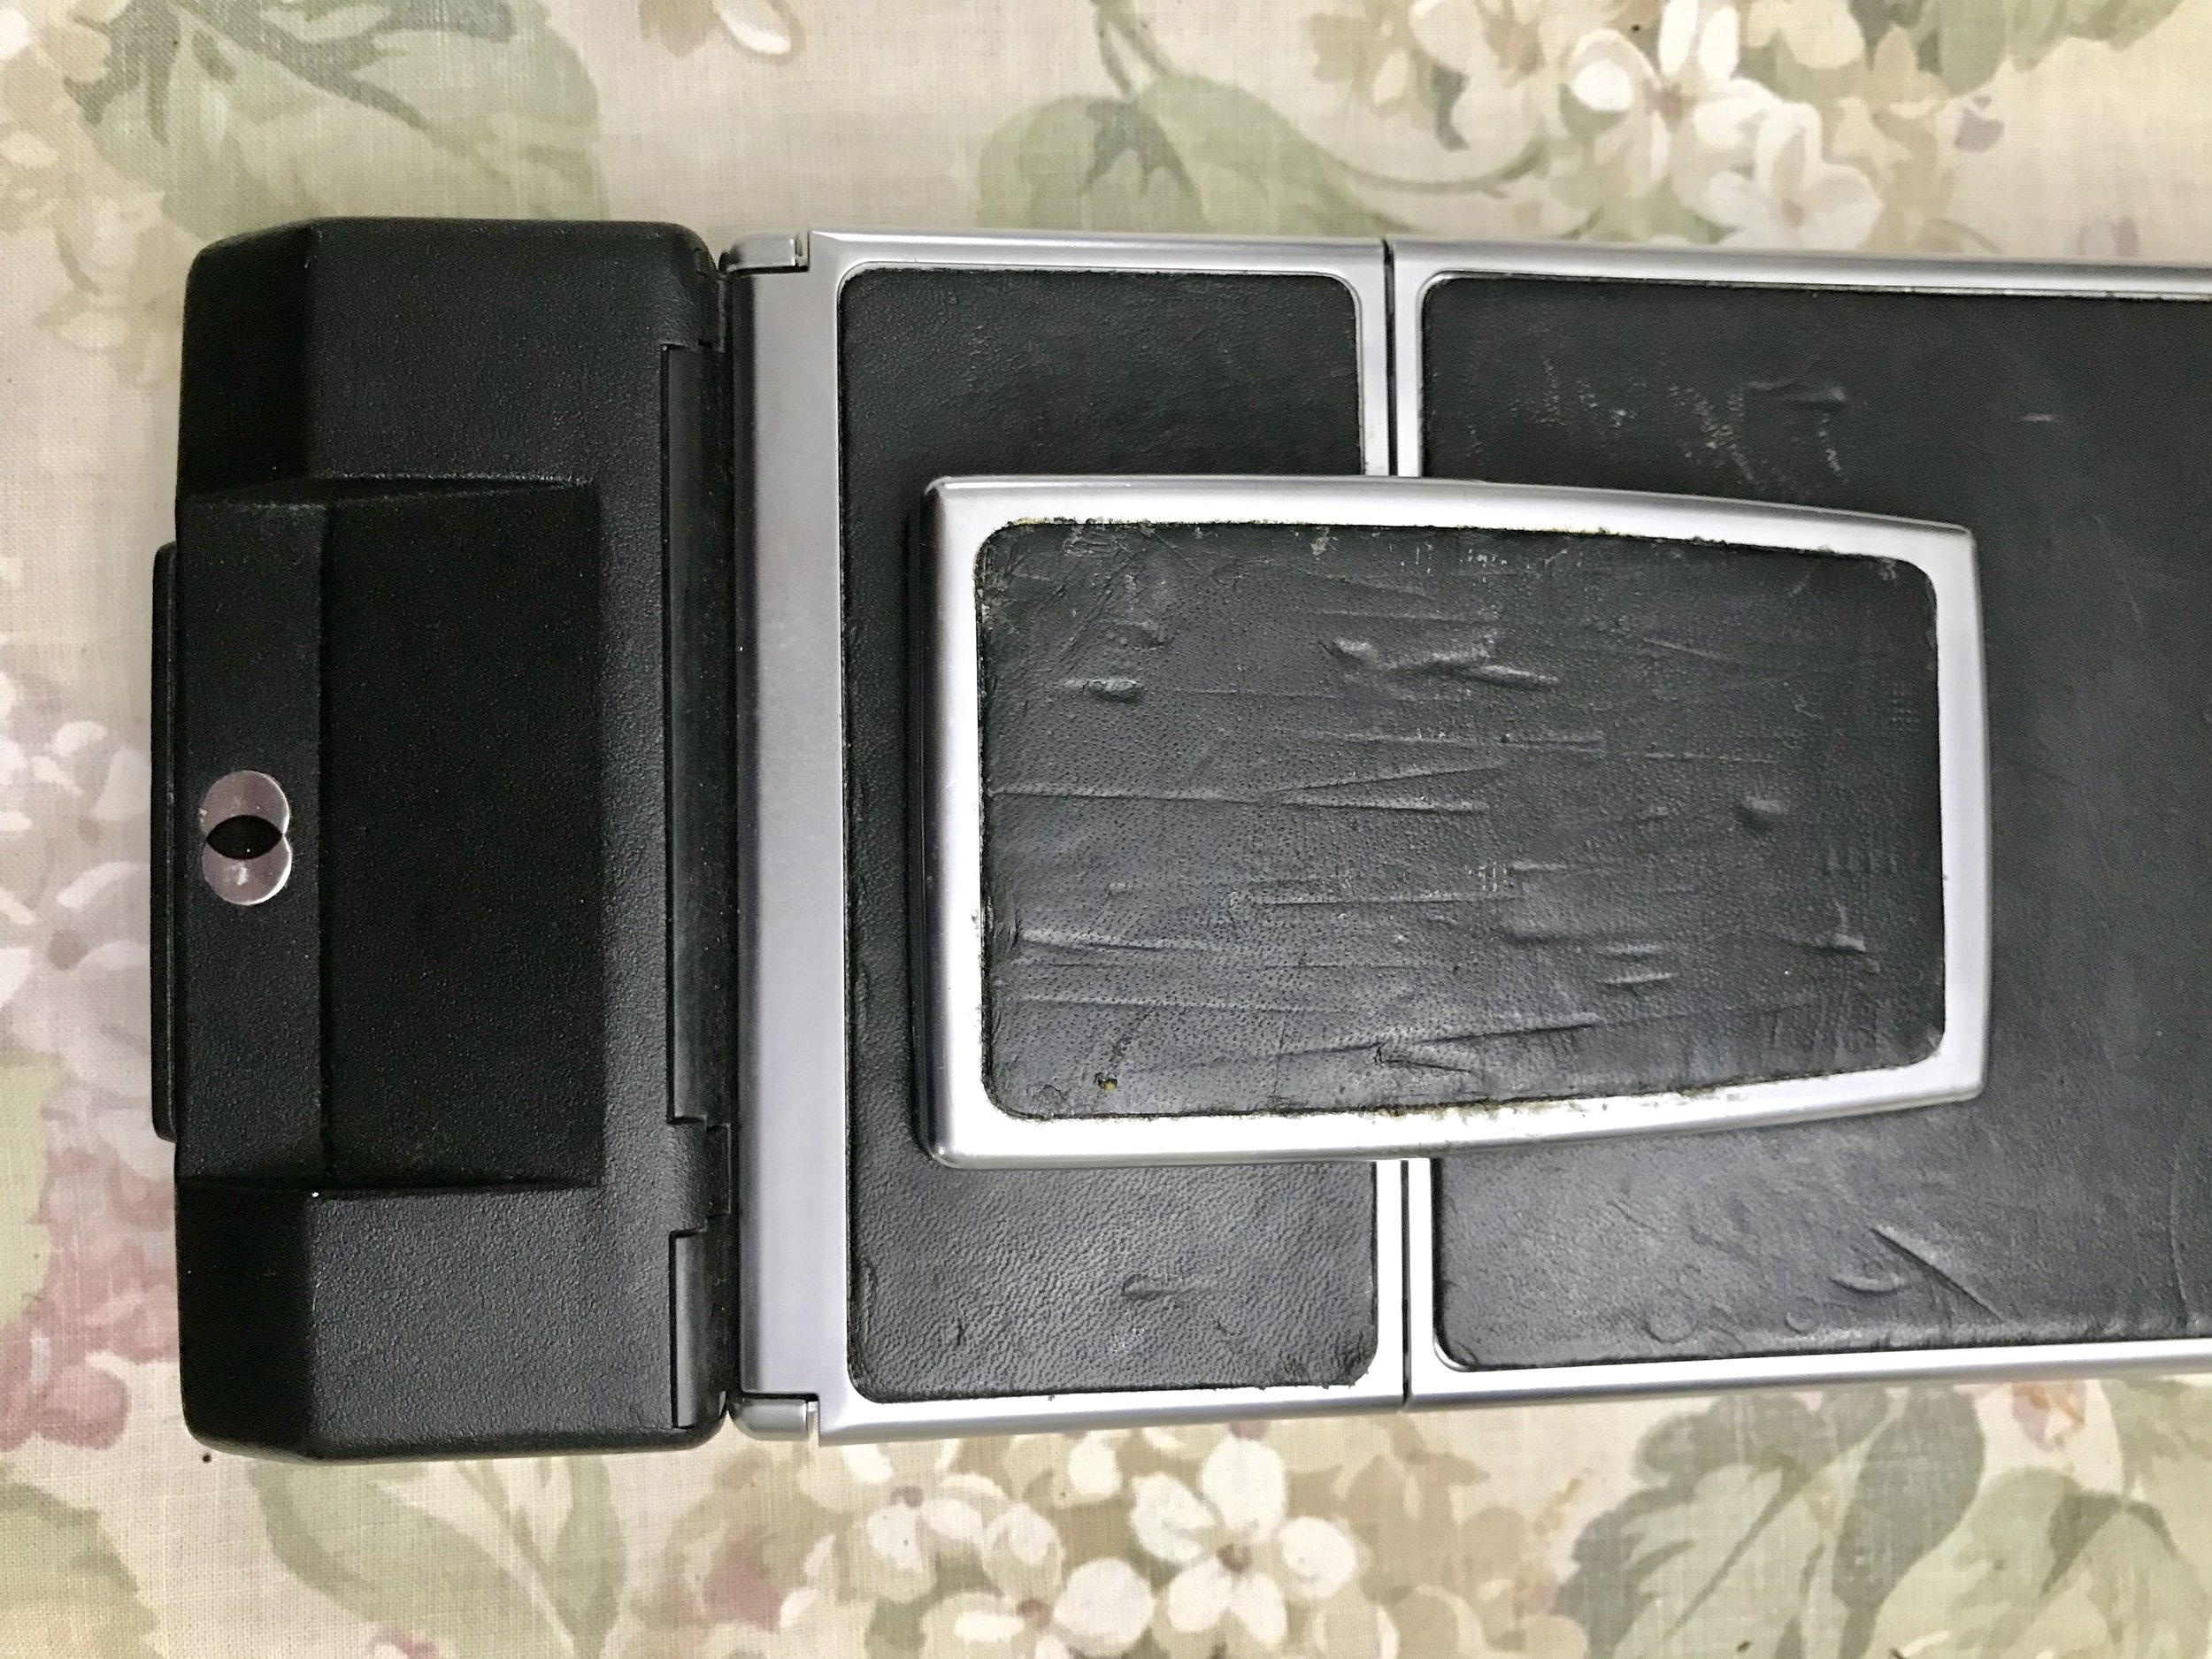
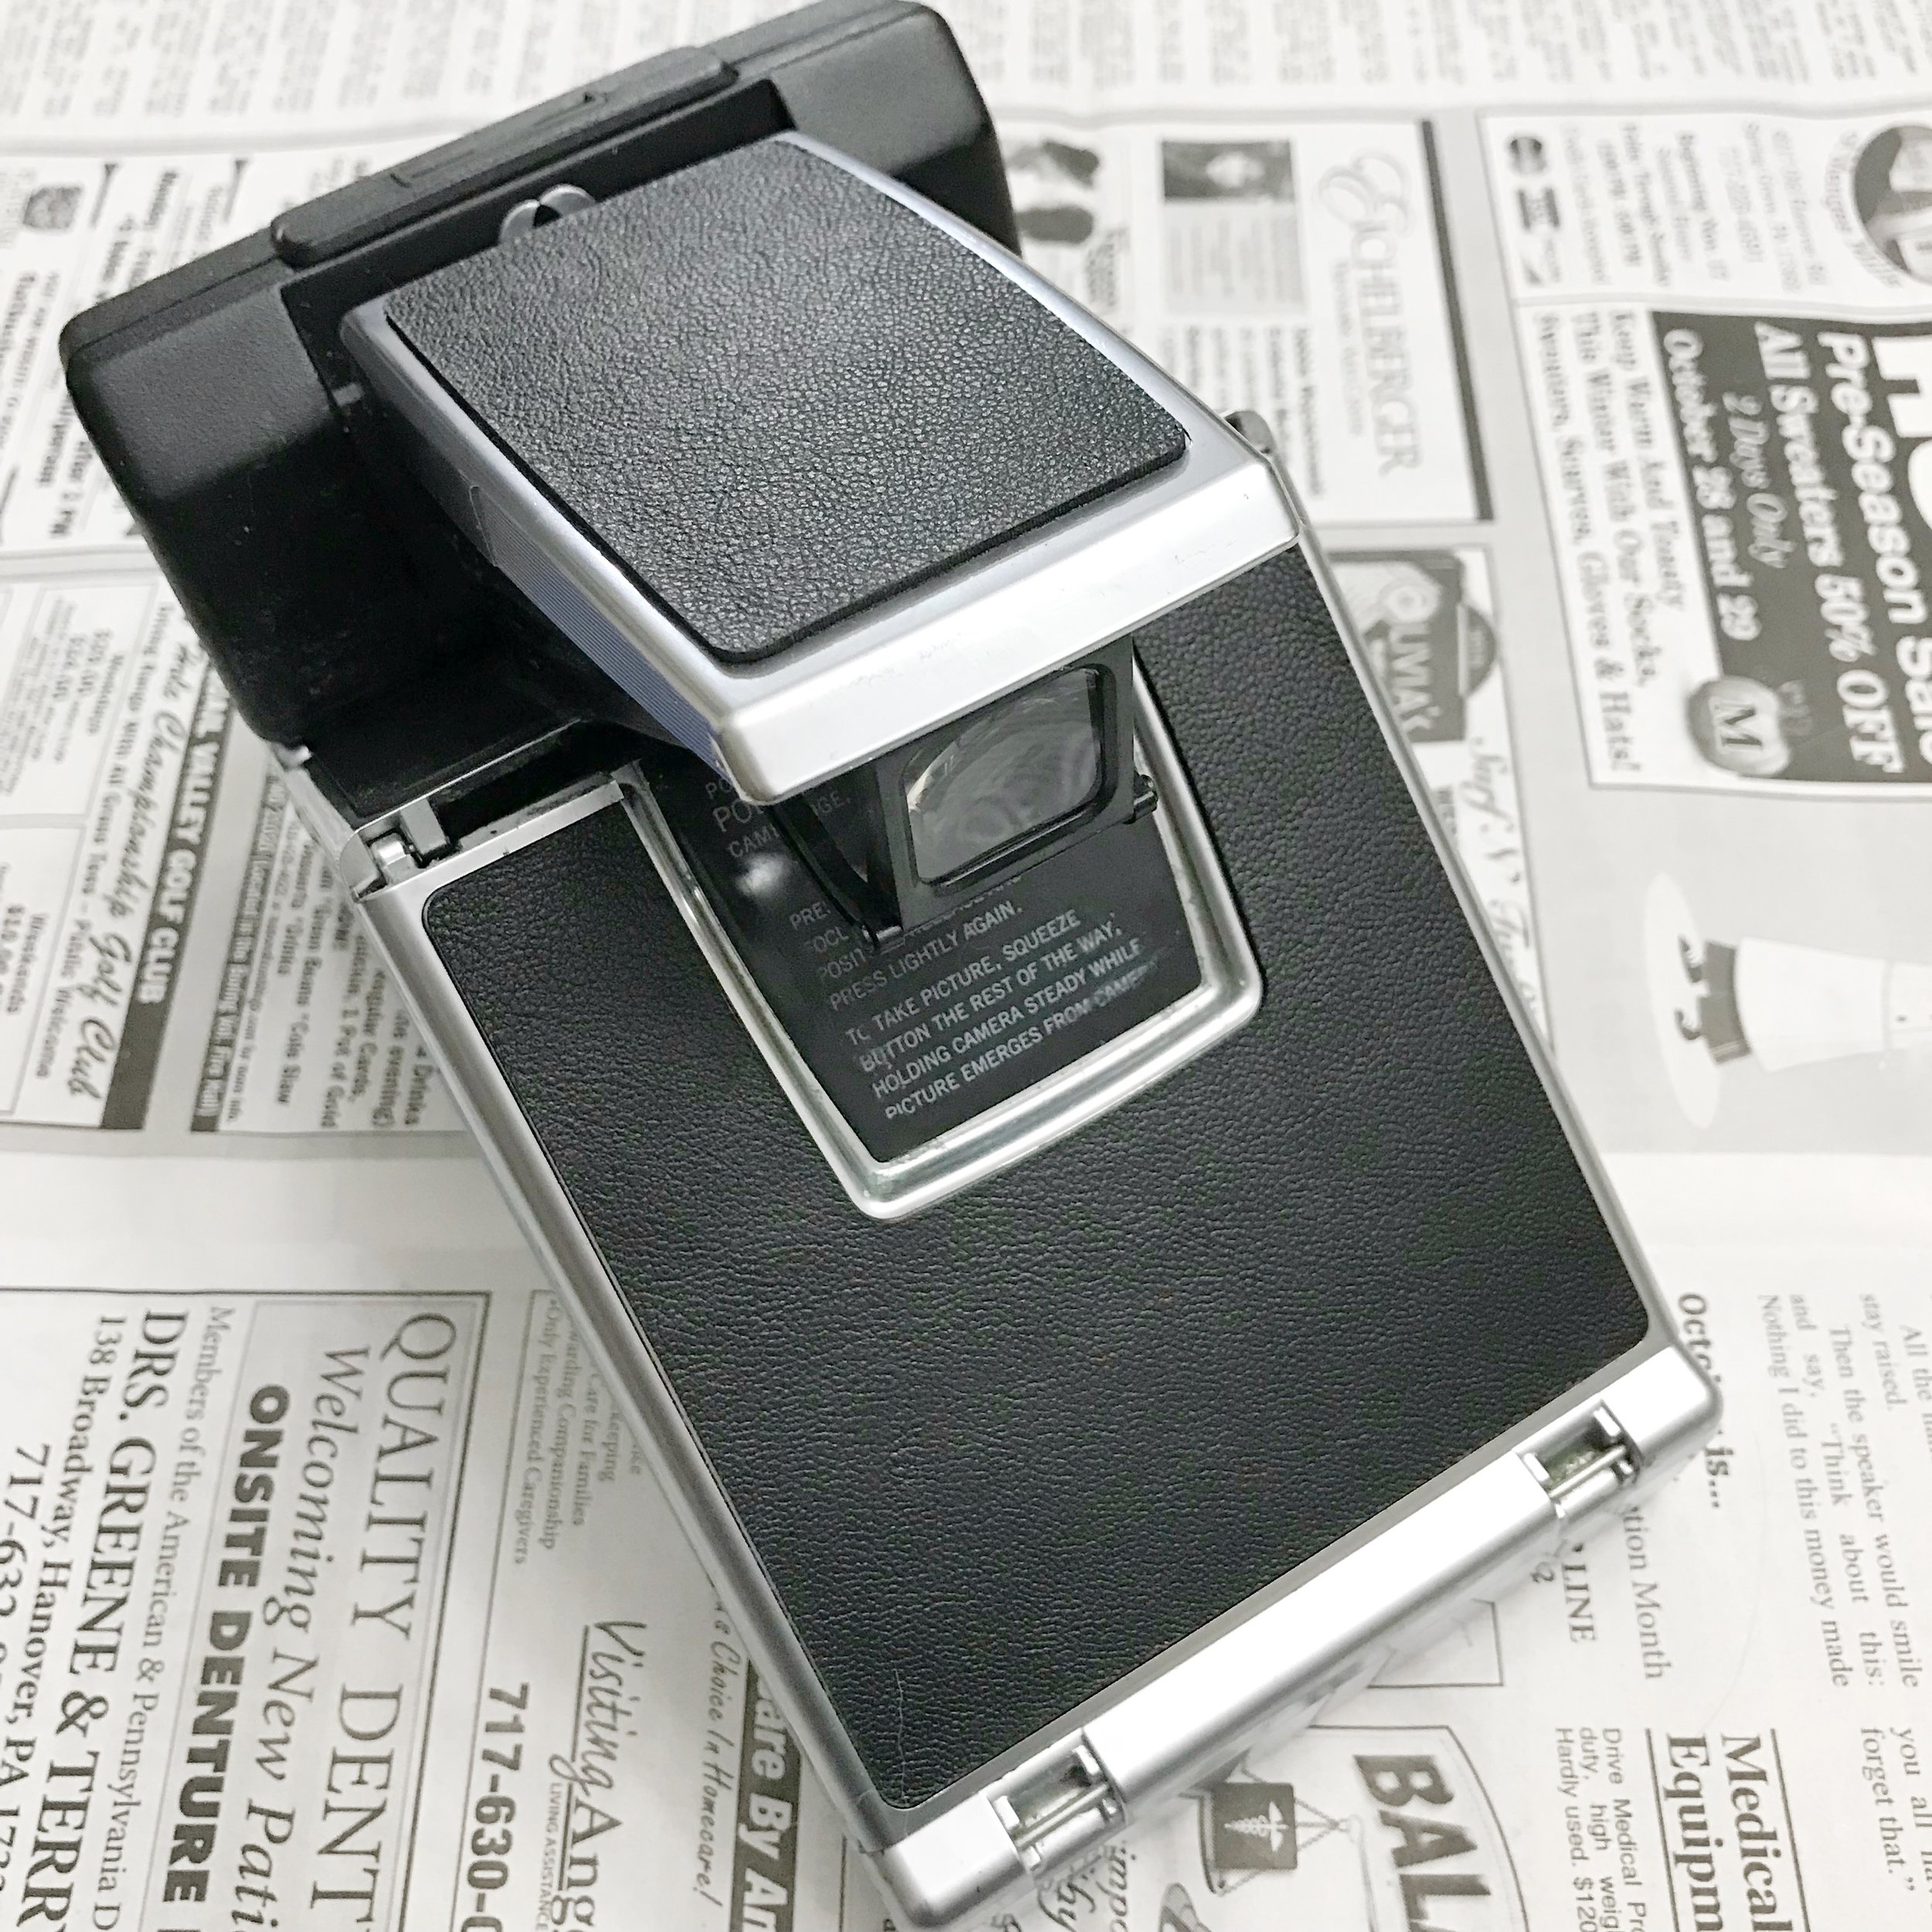
My trusty Polaroid SX-70 Sonar was a little beaten up when I bought it off of Amazon a few years ago and was in need of a new leather reskin. With the new lower price of SX-70 film available from Polaroid Originals, I have a new fondness for the Sonar. The camera works well, but the leather had scratches and dents, so it was time to give it a fresh look. I was originally going to send the camera to an online shop to be refurbished and reskinned, but my wallet said I needed to tackle this job myself.
I found a very helpful video on YouTube by Analog Things on how to remove the old leather and started gathering what I needed to get started. I went to HugoStudo.com to find a nice selection of SX-70 skins to choose from, thinking that I would give the old sonar some bling with a color skin. But I eventually decided on a $20 classic black leather skin to restore it to it's original look. The skins are made to fit your specific SX-70 model and have adhesive on the back for easy installation.
I used cotton swabs, nail polish remover, a small bottle of low odor paint thinner, a utility knife, an x-acto knife, and some elbow grease. Removing the old leather and putting on the new skin took about two hours and looked so good that it now needed a classic leather SX-70 camera strap to complete the makeover. I picked up a black Impossible SX-70 strap from Focus camera for $19.99 with free shipping. B and H Photo had a used Mint SX-70 lens adaptor set for $59.95 that included a ND filter, close up lens, fisheye lens, and a couple of other filters, for about half the price of a new one, so I ordered that. I've been thinking about getting the Mint flash bar as well, but I might pick up one of the vintage SX-70 electronic flash attachments instead for a fraction of the cost from ebay.
So far, I've upgraded my Polaroid SX-70 Sonar for about a $100, with the flash attachment likely to cost an additional $27. The success of this project lead me to purchase a sorry looking Polaroid SX-70 Model 3 from ebay for a few dollars which will be my next camera restoration project.
Instax Wide Pinhole Photos with 4x5 Pinhole Camera
Being inspired by others using Instax Wide film in 4x5 cameras on the Worldwide Instax Shooters Facebook page, I thought I would try using Instax Wide film in my 4x5 Lensless 50mm Pinhole Camera. I found a quick little video on YouTube showing how to notch 4x5 sized acetate to hold the Instax Wide film inside a 4x5 film holder. I used black plastic folders cut down to size for mine. After exposing the film, it is reloaded into an empty instax wide cartridge inside a changing bag and placed in my Lomo'Instant Wide camera, also in the changing bag - then ejected and developed, covering the lens while doing so.
I took a few initial shots on our back porch on a sunny evening where the exposure was less than a second and I was able to produce a couple of well-exposed shots. The composition wasn't that great on those so I've been trying to improve my exposures while also working on better compositions.
Shooting inside where the exposure times are much longer meant that I needed to try to find a good guide on reciprocity failure for Instax Film. The closest thing that I could find was a formula for doubling the exposure five times and this seemed to work for me better than previous experimental times.
Now that there is the new Instax Wide Monochrome film, I want to try pinhole photography with this method. I've already experimented with the Instax Mini Monochrome using my Diana F+ with instant back set on the pinhole setting, and those photos came out pretty nice.
Shooting with Instax Wide Film in this manner has made me think more about my Polaroid 110A Instax Wide conversion. I'm now thinking it would be better to put a 4x5 back on the Polaroid 110A whic would enable me to shoot both Instax Wide loaded into 4x5 film holders and also traditional 4x5 film. There is a seller on Ebay producing 3D printed 4x5 camera backs for DIY camera projects. This would be much easier for me to figure out than how to rewire the electronics and Frankensteining an Instax Wide 210 camera onto the back of a Polaroid 110A! Look for further developments on the Polaroid 110A conversion in future posts.
Polaroid OneStep 2
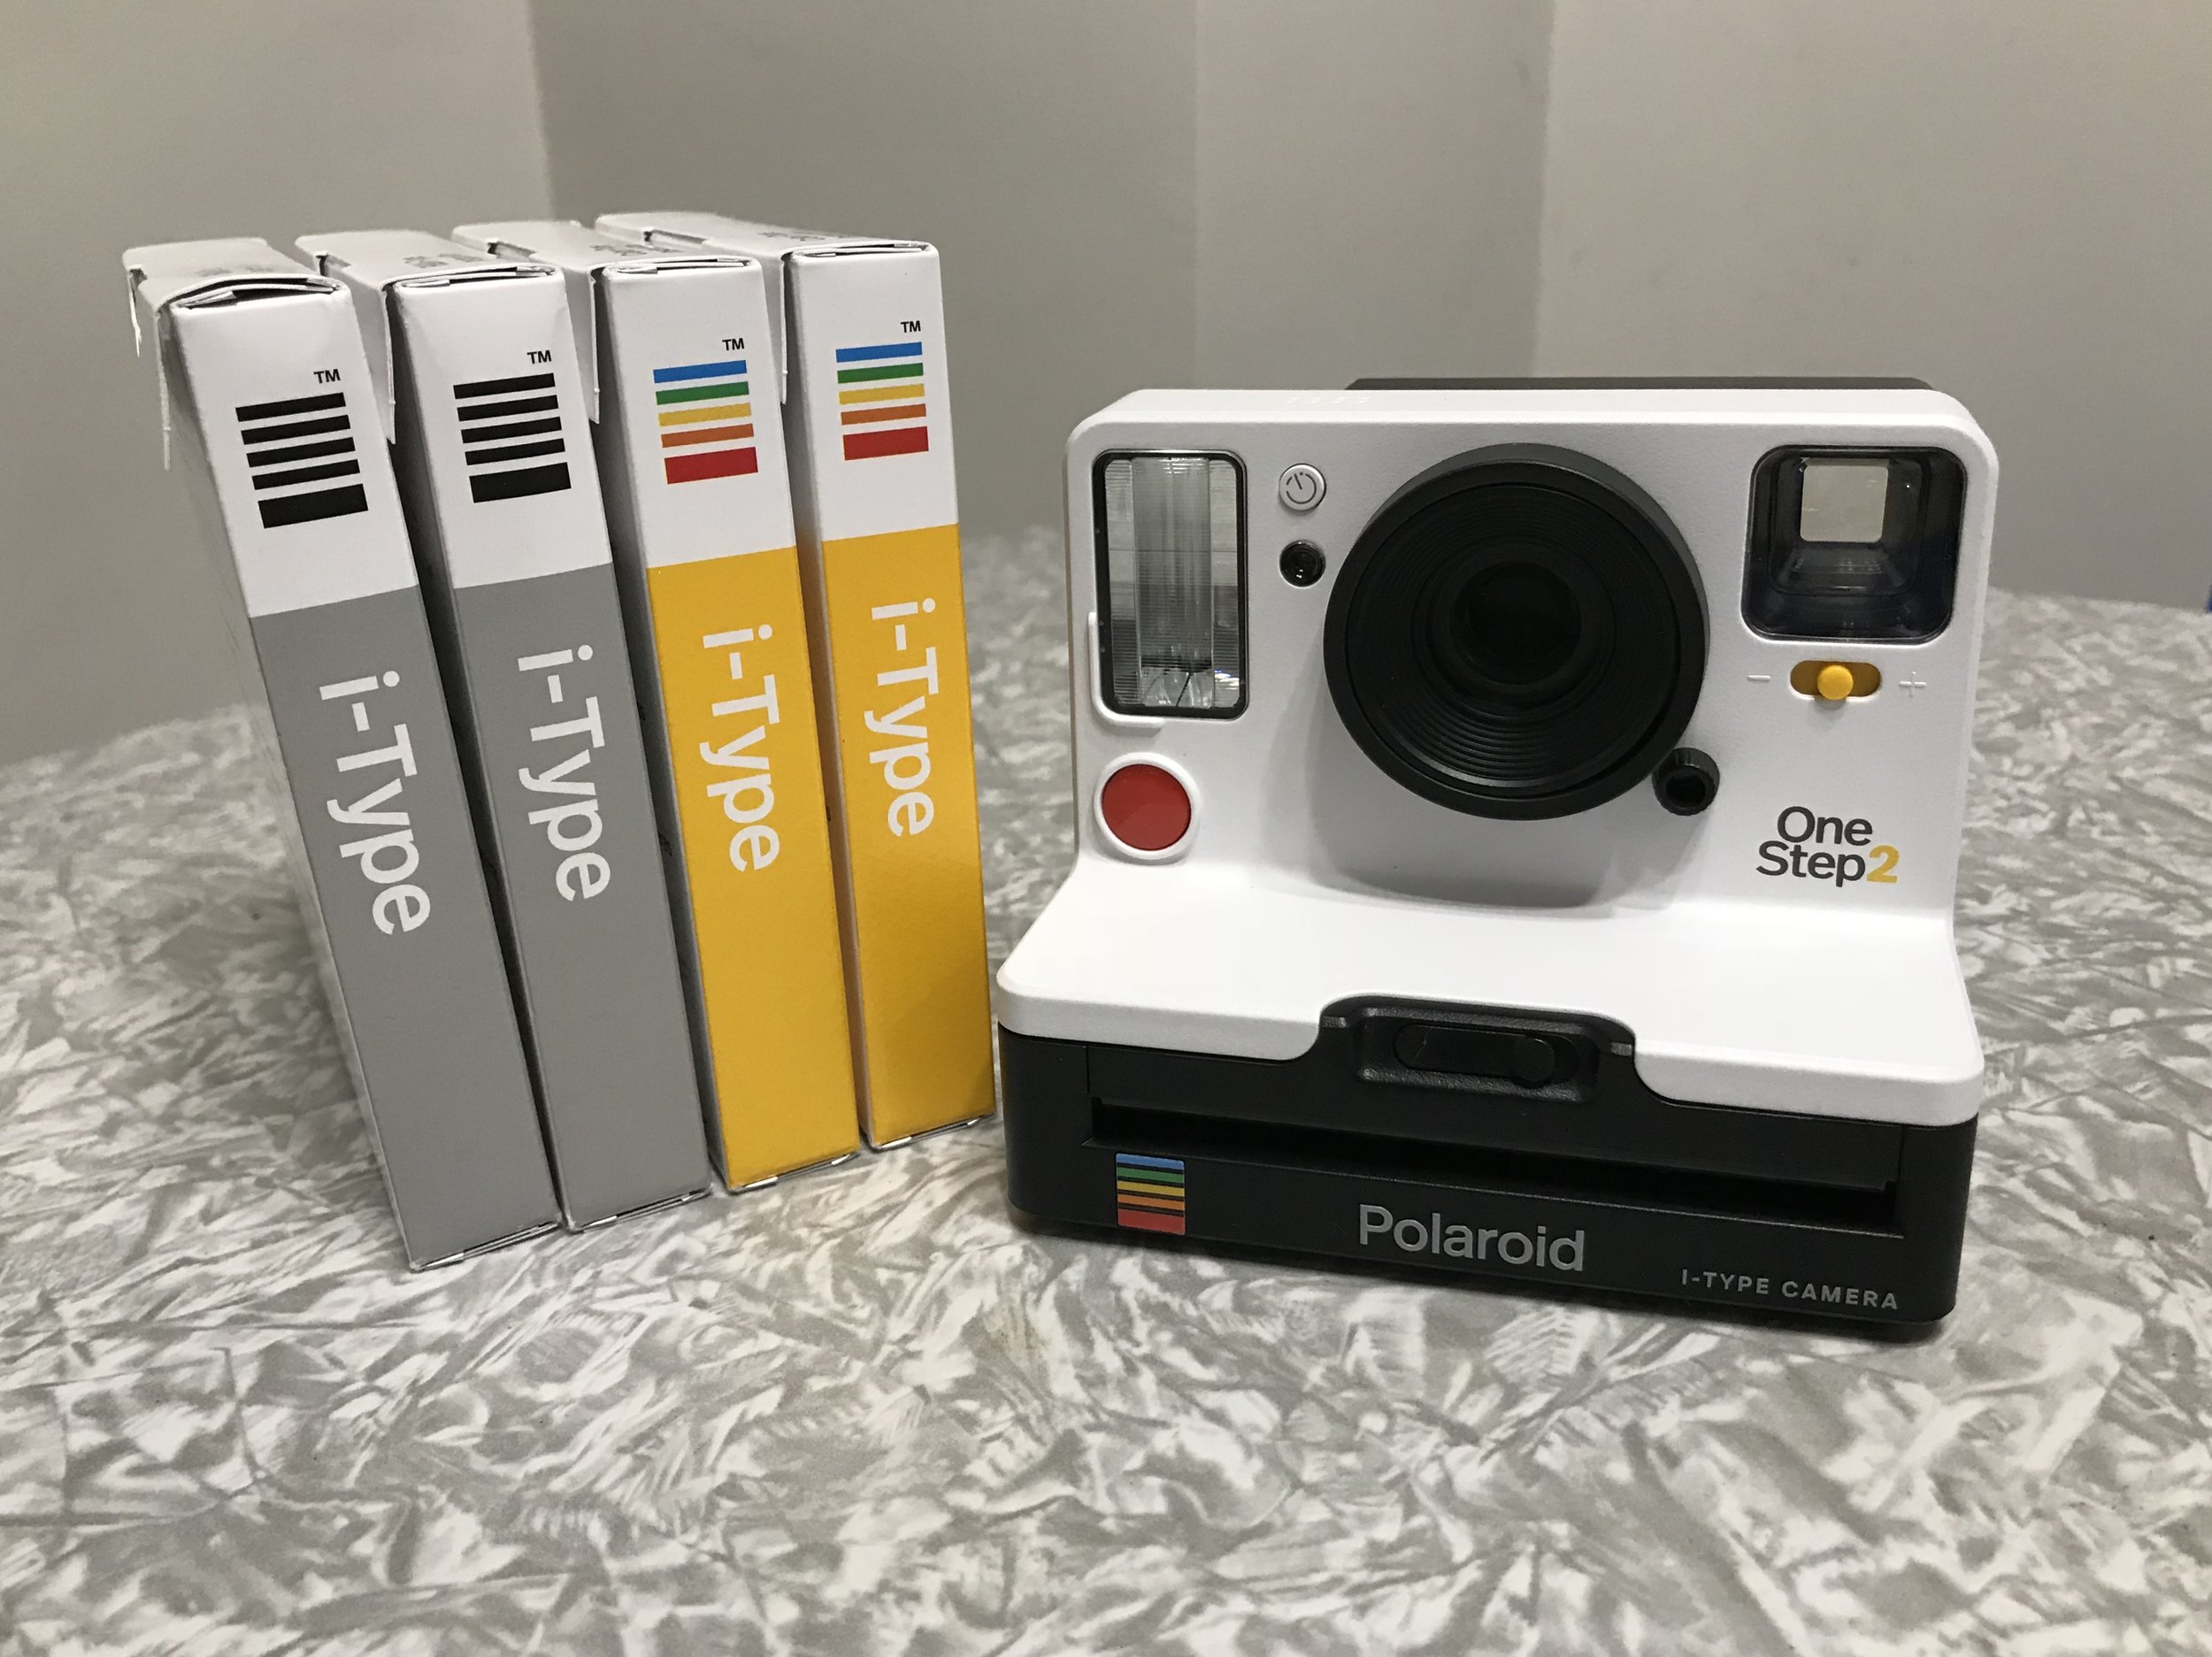
I usually find out about new cameras from several blogs that I follow and from Kickstarter campaigns that I back, but I was caught off guard when Polaroid announced the OneStep 2. Being the camera addict that I am, and also that it was a new instant film camera, I couldn't restrain myself from pre-ordering one. I signed up for the newsletter which gave me a 10% discount on the camera and the initial purchase of film that I made.
The Onestep 2 looks much like its predecessor, the iconic Rainbow Polaroid OneStep, with the addition of an on camera flash. I have one of the original OneStep cameras, a Sears Special version, with a very large attachable flash unit. I took the OneStep off my Polaroid camera shelf and put a pack of the new Polaroid Originals film through it in anticipation of receiving the OneStep 2.
After waiting impatiently and emailing Polaroid Originals about the delivery of the OneStep 2, I finally received it a couple of days after the launch date of October 16th. I just assumed that when you pre-order a new camera, that it would be delivered before it was actually available on the store shelf to other customers.
Nonetheless, I am extremely happy with my purchase of the OneStep 2. I only think now that I should have gotten the graphite color to be less conspicuous when shooting photographs on the street and to better hide the eventual spots of dirt.
The camera operation is pretty straightforward - point camera at subject, press red button. The flash can be turned off if desired, but the flash is recommended. There is also a timer. That's about it for features.
In my experience with the camera so far, I need to get better at framing my shots for the parallax correction. The minimum focusing distance is two feet, with anything beyond that being in focus.
The new Polaroid Originals I-type film performs well, only that I found the need to set the exposure to the minus side on the OneStep 2. Love the camera and the new film!
Fuji Instax Wide Monochrome
There were murmurs in the Worldwide Instax Shooters group on Facebook that Fuji Instax Wide Monochrome had been spotted in the wild. Regularly checking the updates in the group lead to a post by the admin that he had purchased several packs at Best Buy and that there was a multi-pack purchase discount. I immediately went to the Best Buy website and purchased three packs and waited for my shipment to arrive. With the multi-pack purchase discount, each pack averaged just over $14. I thought I would order a few more packs and was able to place an additional order to pick up at my local Best Buy. When I went to pick up my order, I browsed their instant camera and film section and saw that they also carried the new Polaroid OneStep2 and Polaroid Originals film. After a quick check of the online pricing, I discovered that the multi-pack purchase discount was also available on Polaroid Originals Film! But they only had one pack in the store. I was able to order 3 packs of I-type film for my new Polaroid OneStep2 at at discount to pick up later, averaging just over $12 per pack.
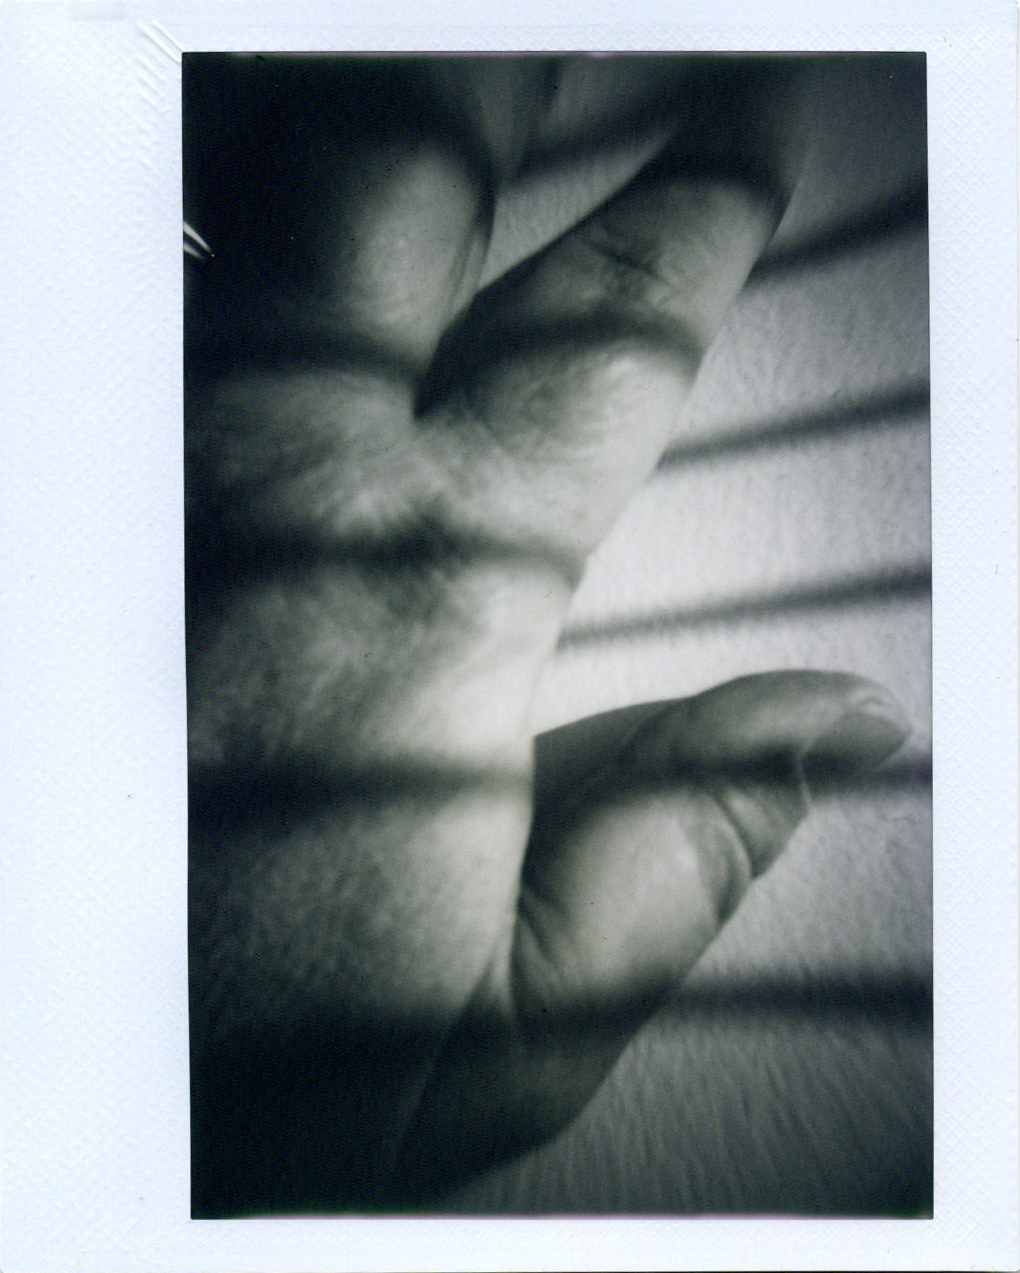
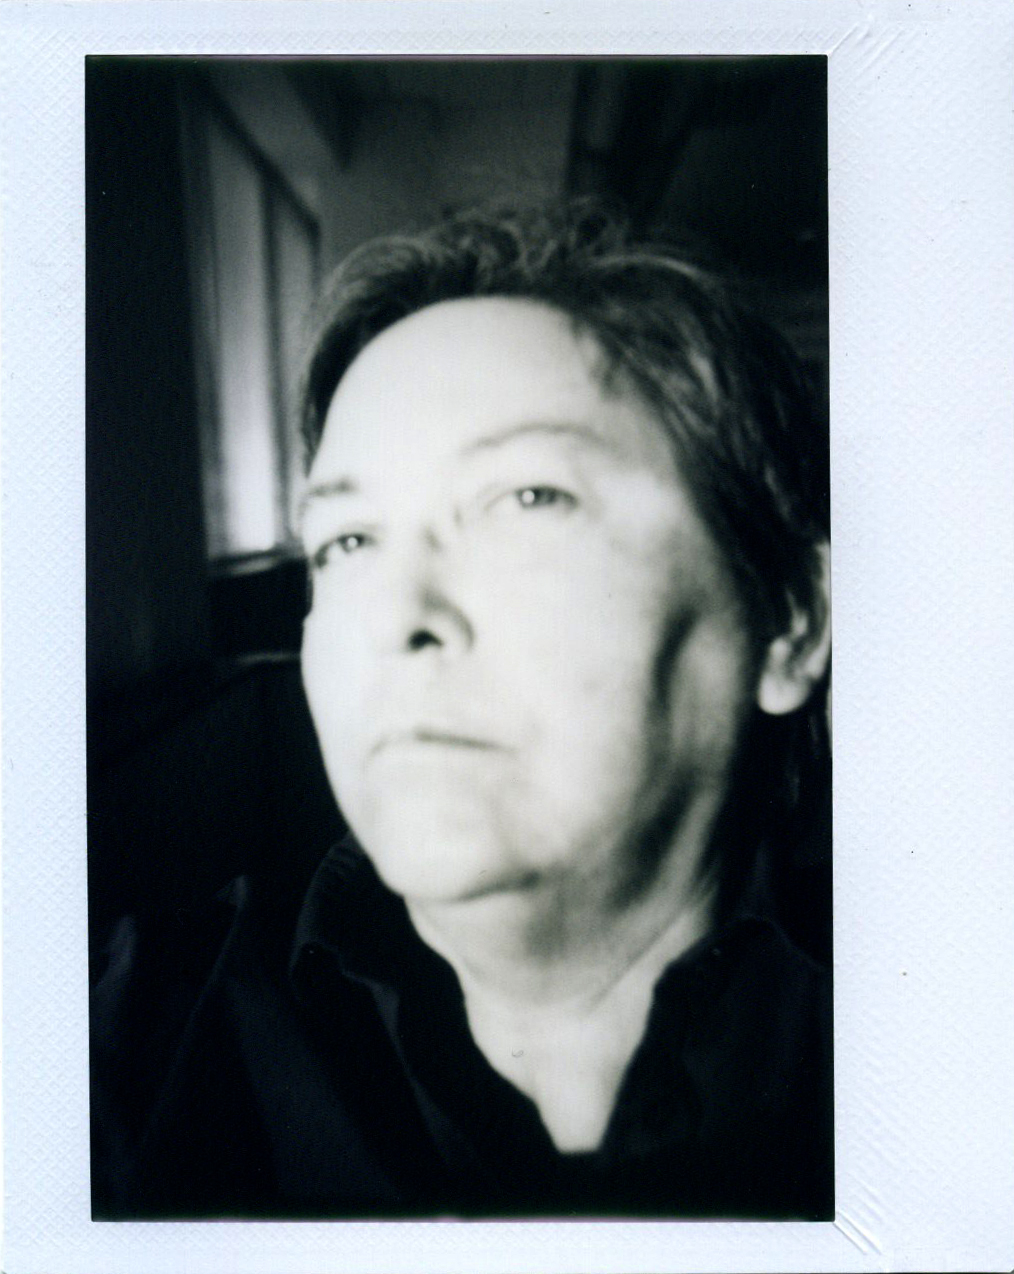
So here are a few test shots of the Instax Wide Monochrome Film using my Lomo'Instant Wide camera. For lack of a better subject or opportunity to photograph outside, these are a few self-portraits.


