Check out the t-shirts with my cartoon Photo Skully on the front! Get yours now at Threadless.com!
tintype effect on instax film
My process for making tintype effect on Instax film with iPhone apps and Fujifilm SQ10 Instax Square camera. The Tintype iPhone app converts regular iPhone photos to tintype images in either a square or rectangular format. There are various settings in the app for black and white, sepia, or color, with or without frame, eyes in portraits, depth of field and grain effect. The other app that can be used is the Hipstamatic app that uses a combination of the Tinto 1884 lens and D-Type film, but only saves in the square format. After the photos are saved to the iPhone camera roll, I transfer them to the micro-sd card for the SQ10 Instax Square camera using a lightning port micro-sd card reader. The photos can then be printed from the SQ10 Instax Square camera. I have sometimes used the sepia filter to get a warmer print. These could probably also be printed on a SP-3 Mobile Instax Printer, but I don’t own one of those to try it out.
I’ve also printed the tintype effect photos on the Kiipix Instax Mini printer using the rectangular shaped photos from the Tintype app. This works really well for antique cars, old machinery, or anything that would look good with a vintage photo treatment.
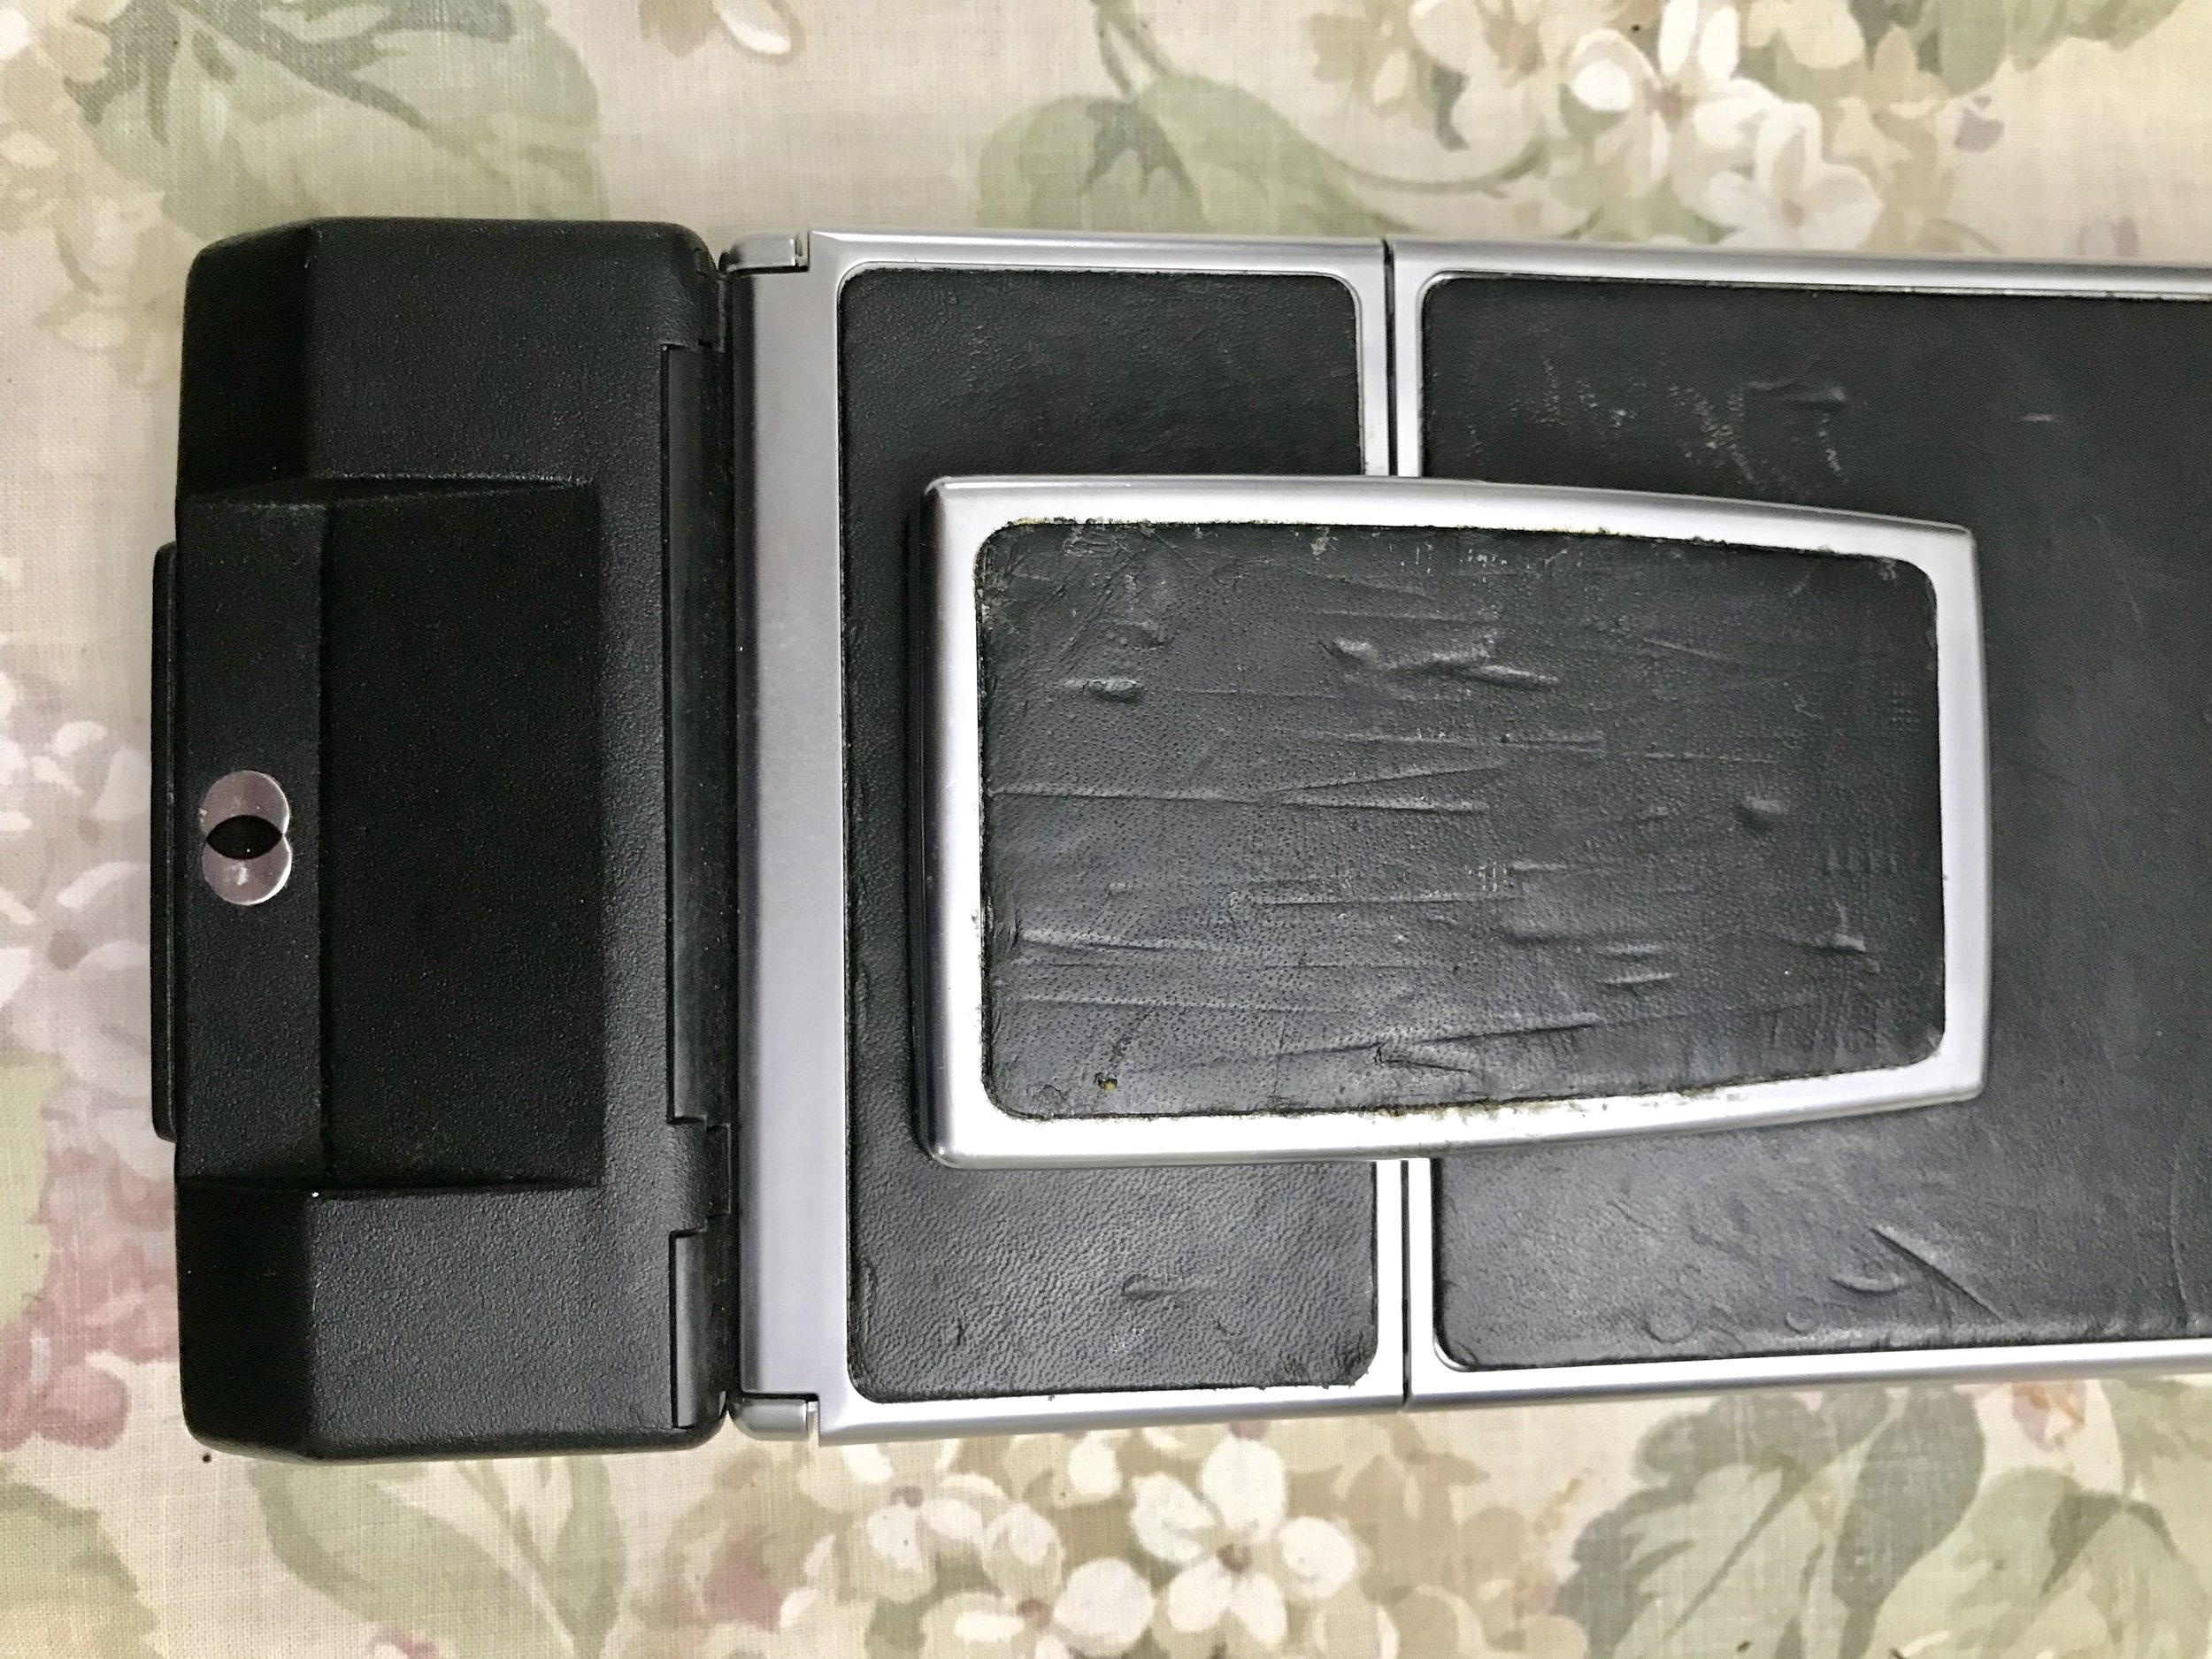
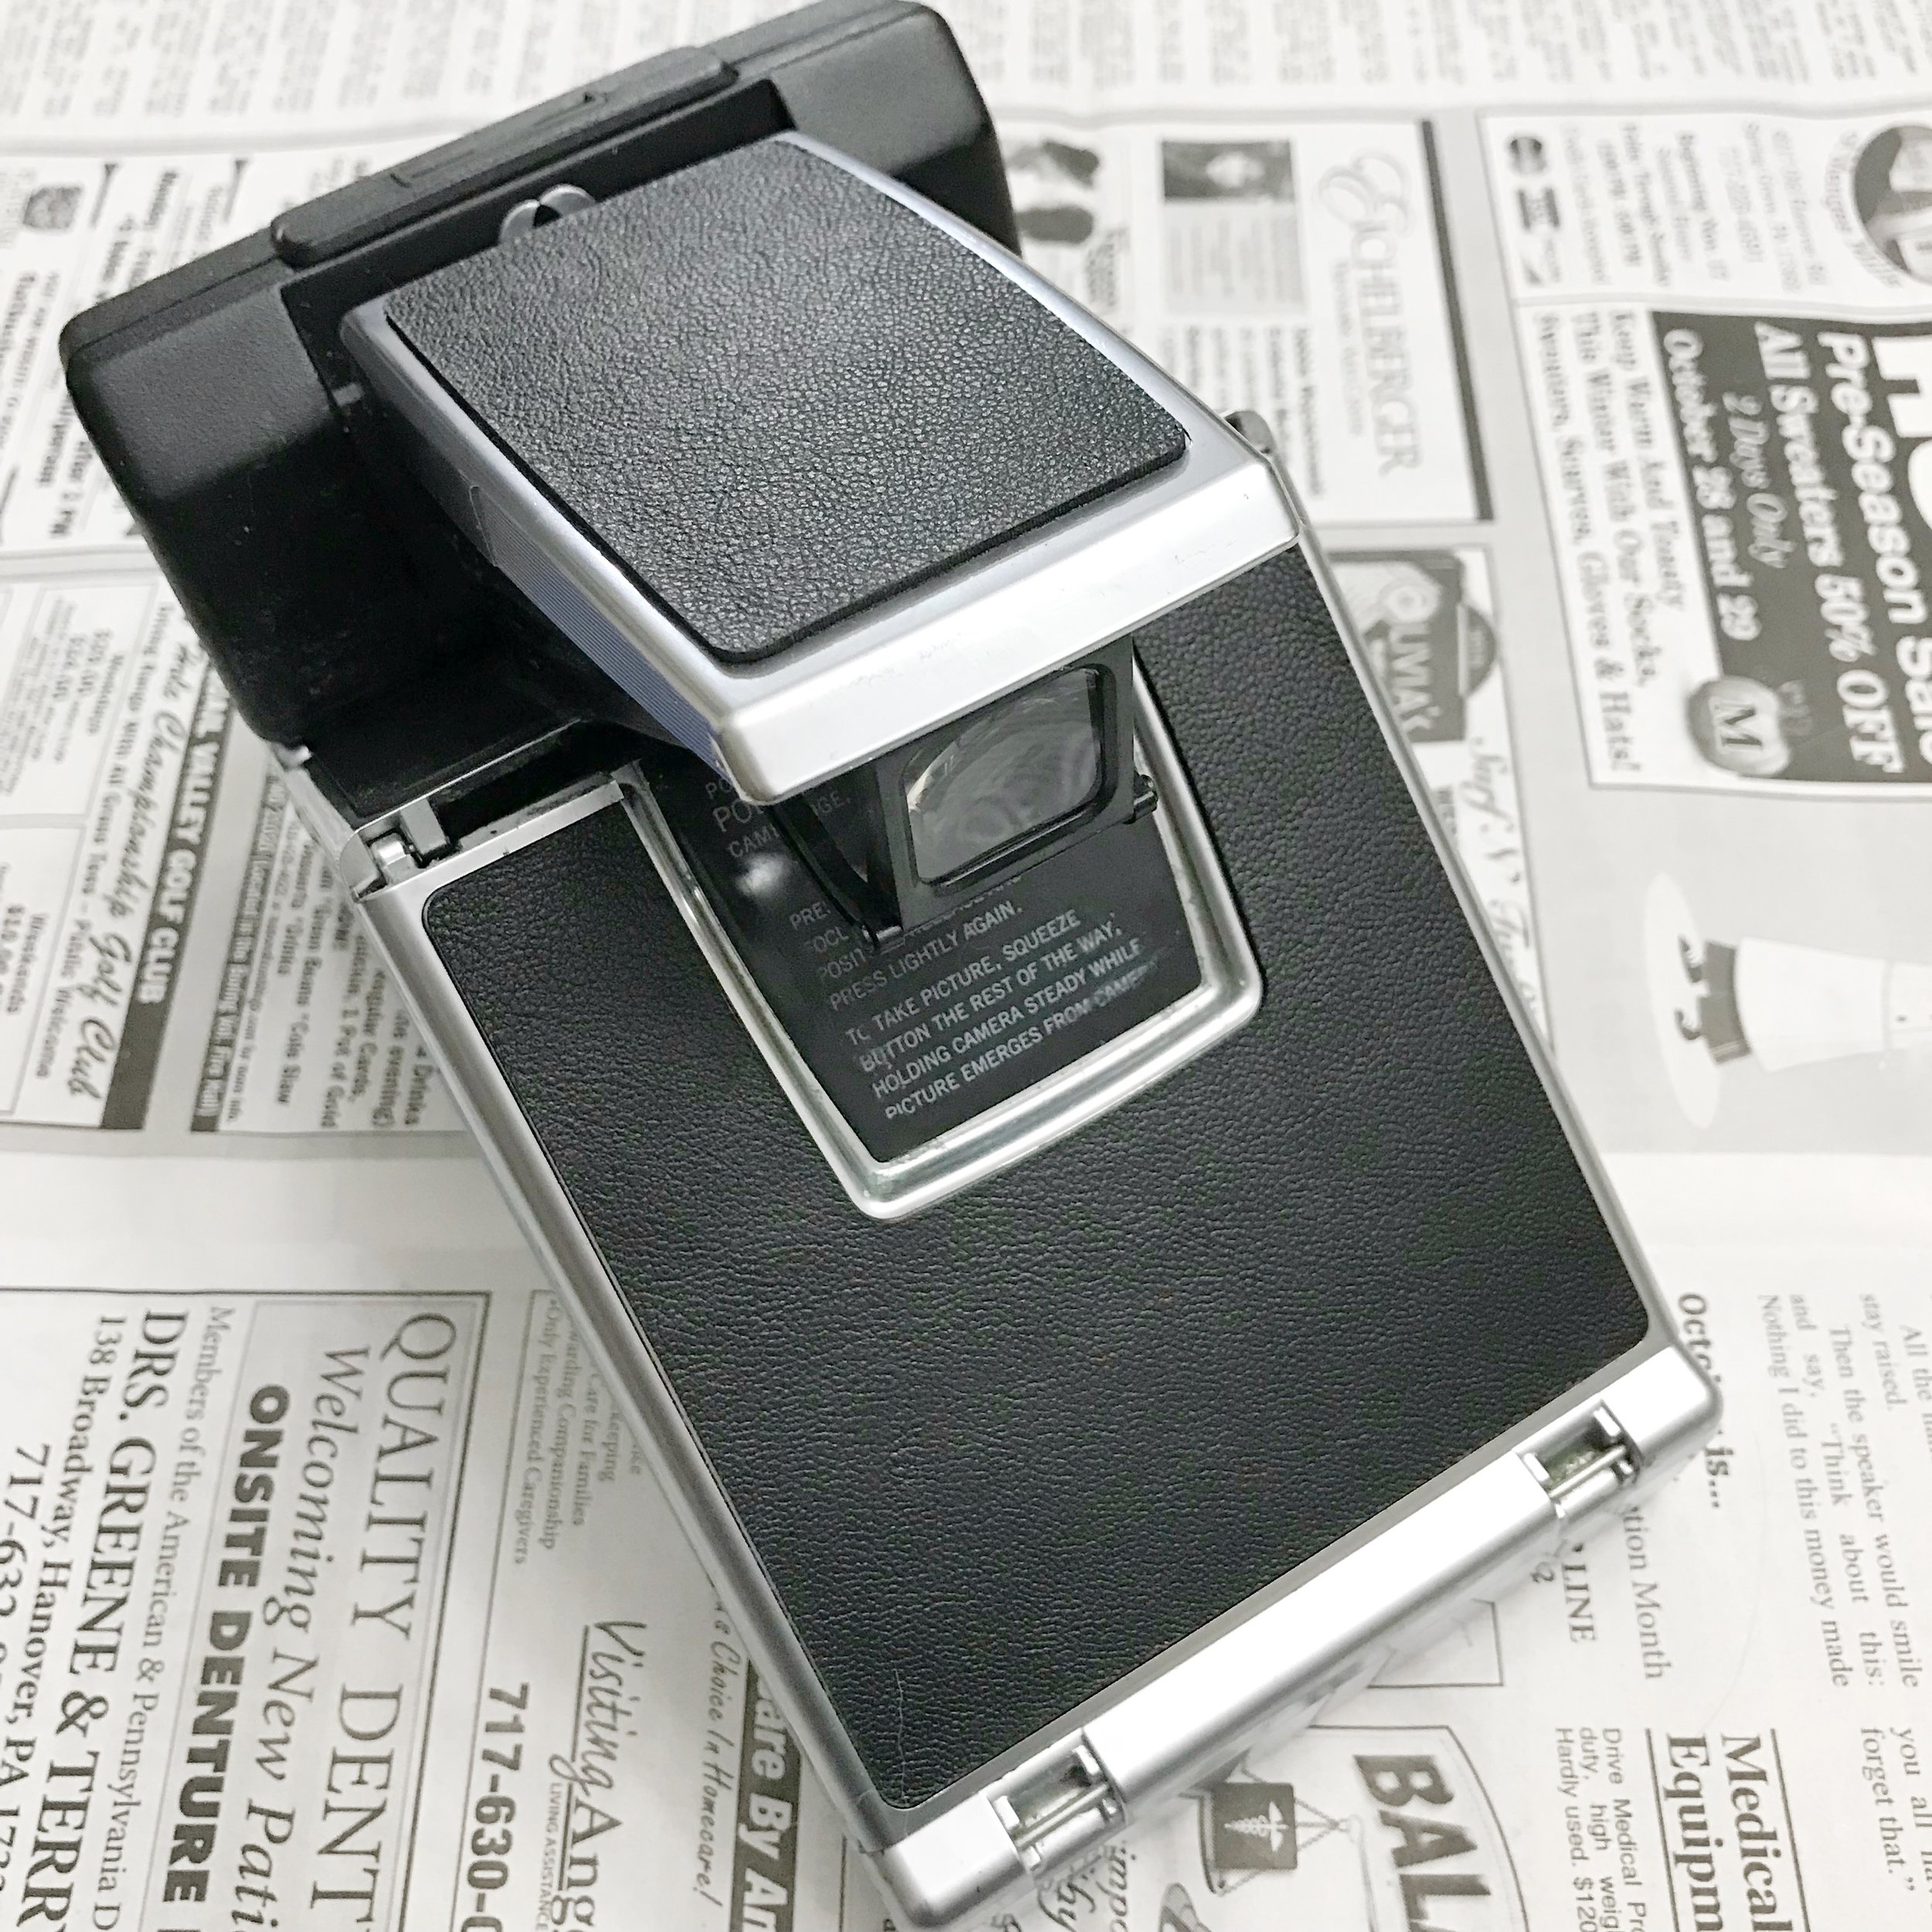
Polaroid SX-70 Sonar Reskin
My trusty Polaroid SX-70 Sonar was a little beaten up when I bought it off of Amazon a few years ago and was in need of a new leather reskin. With the new lower price of SX-70 film available from Polaroid Originals, I have a new fondness for the Sonar. The camera works well, but the leather had scratches and dents, so it was time to give it a fresh look. I was originally going to send the camera to an online shop to be refurbished and reskinned, but my wallet said I needed to tackle this job myself.
I found a very helpful video on YouTube by Analog Things on how to remove the old leather and started gathering what I needed to get started. I went to HugoStudo.com to find a nice selection of SX-70 skins to choose from, thinking that I would give the old sonar some bling with a color skin. But I eventually decided on a $20 classic black leather skin to restore it to it's original look. The skins are made to fit your specific SX-70 model and have adhesive on the back for easy installation.
I used cotton swabs, nail polish remover, a small bottle of low odor paint thinner, a utility knife, an x-acto knife, and some elbow grease. Removing the old leather and putting on the new skin took about two hours and looked so good that it now needed a classic leather SX-70 camera strap to complete the makeover. I picked up a black Impossible SX-70 strap from Focus camera for $19.99 with free shipping. B and H Photo had a used Mint SX-70 lens adaptor set for $59.95 that included a ND filter, close up lens, fisheye lens, and a couple of other filters, for about half the price of a new one, so I ordered that. I've been thinking about getting the Mint flash bar as well, but I might pick up one of the vintage SX-70 electronic flash attachments instead for a fraction of the cost from ebay.
So far, I've upgraded my Polaroid SX-70 Sonar for about a $100, with the flash attachment likely to cost an additional $27. The success of this project lead me to purchase a sorry looking Polaroid SX-70 Model 3 from ebay for a few dollars which will be my next camera restoration project.
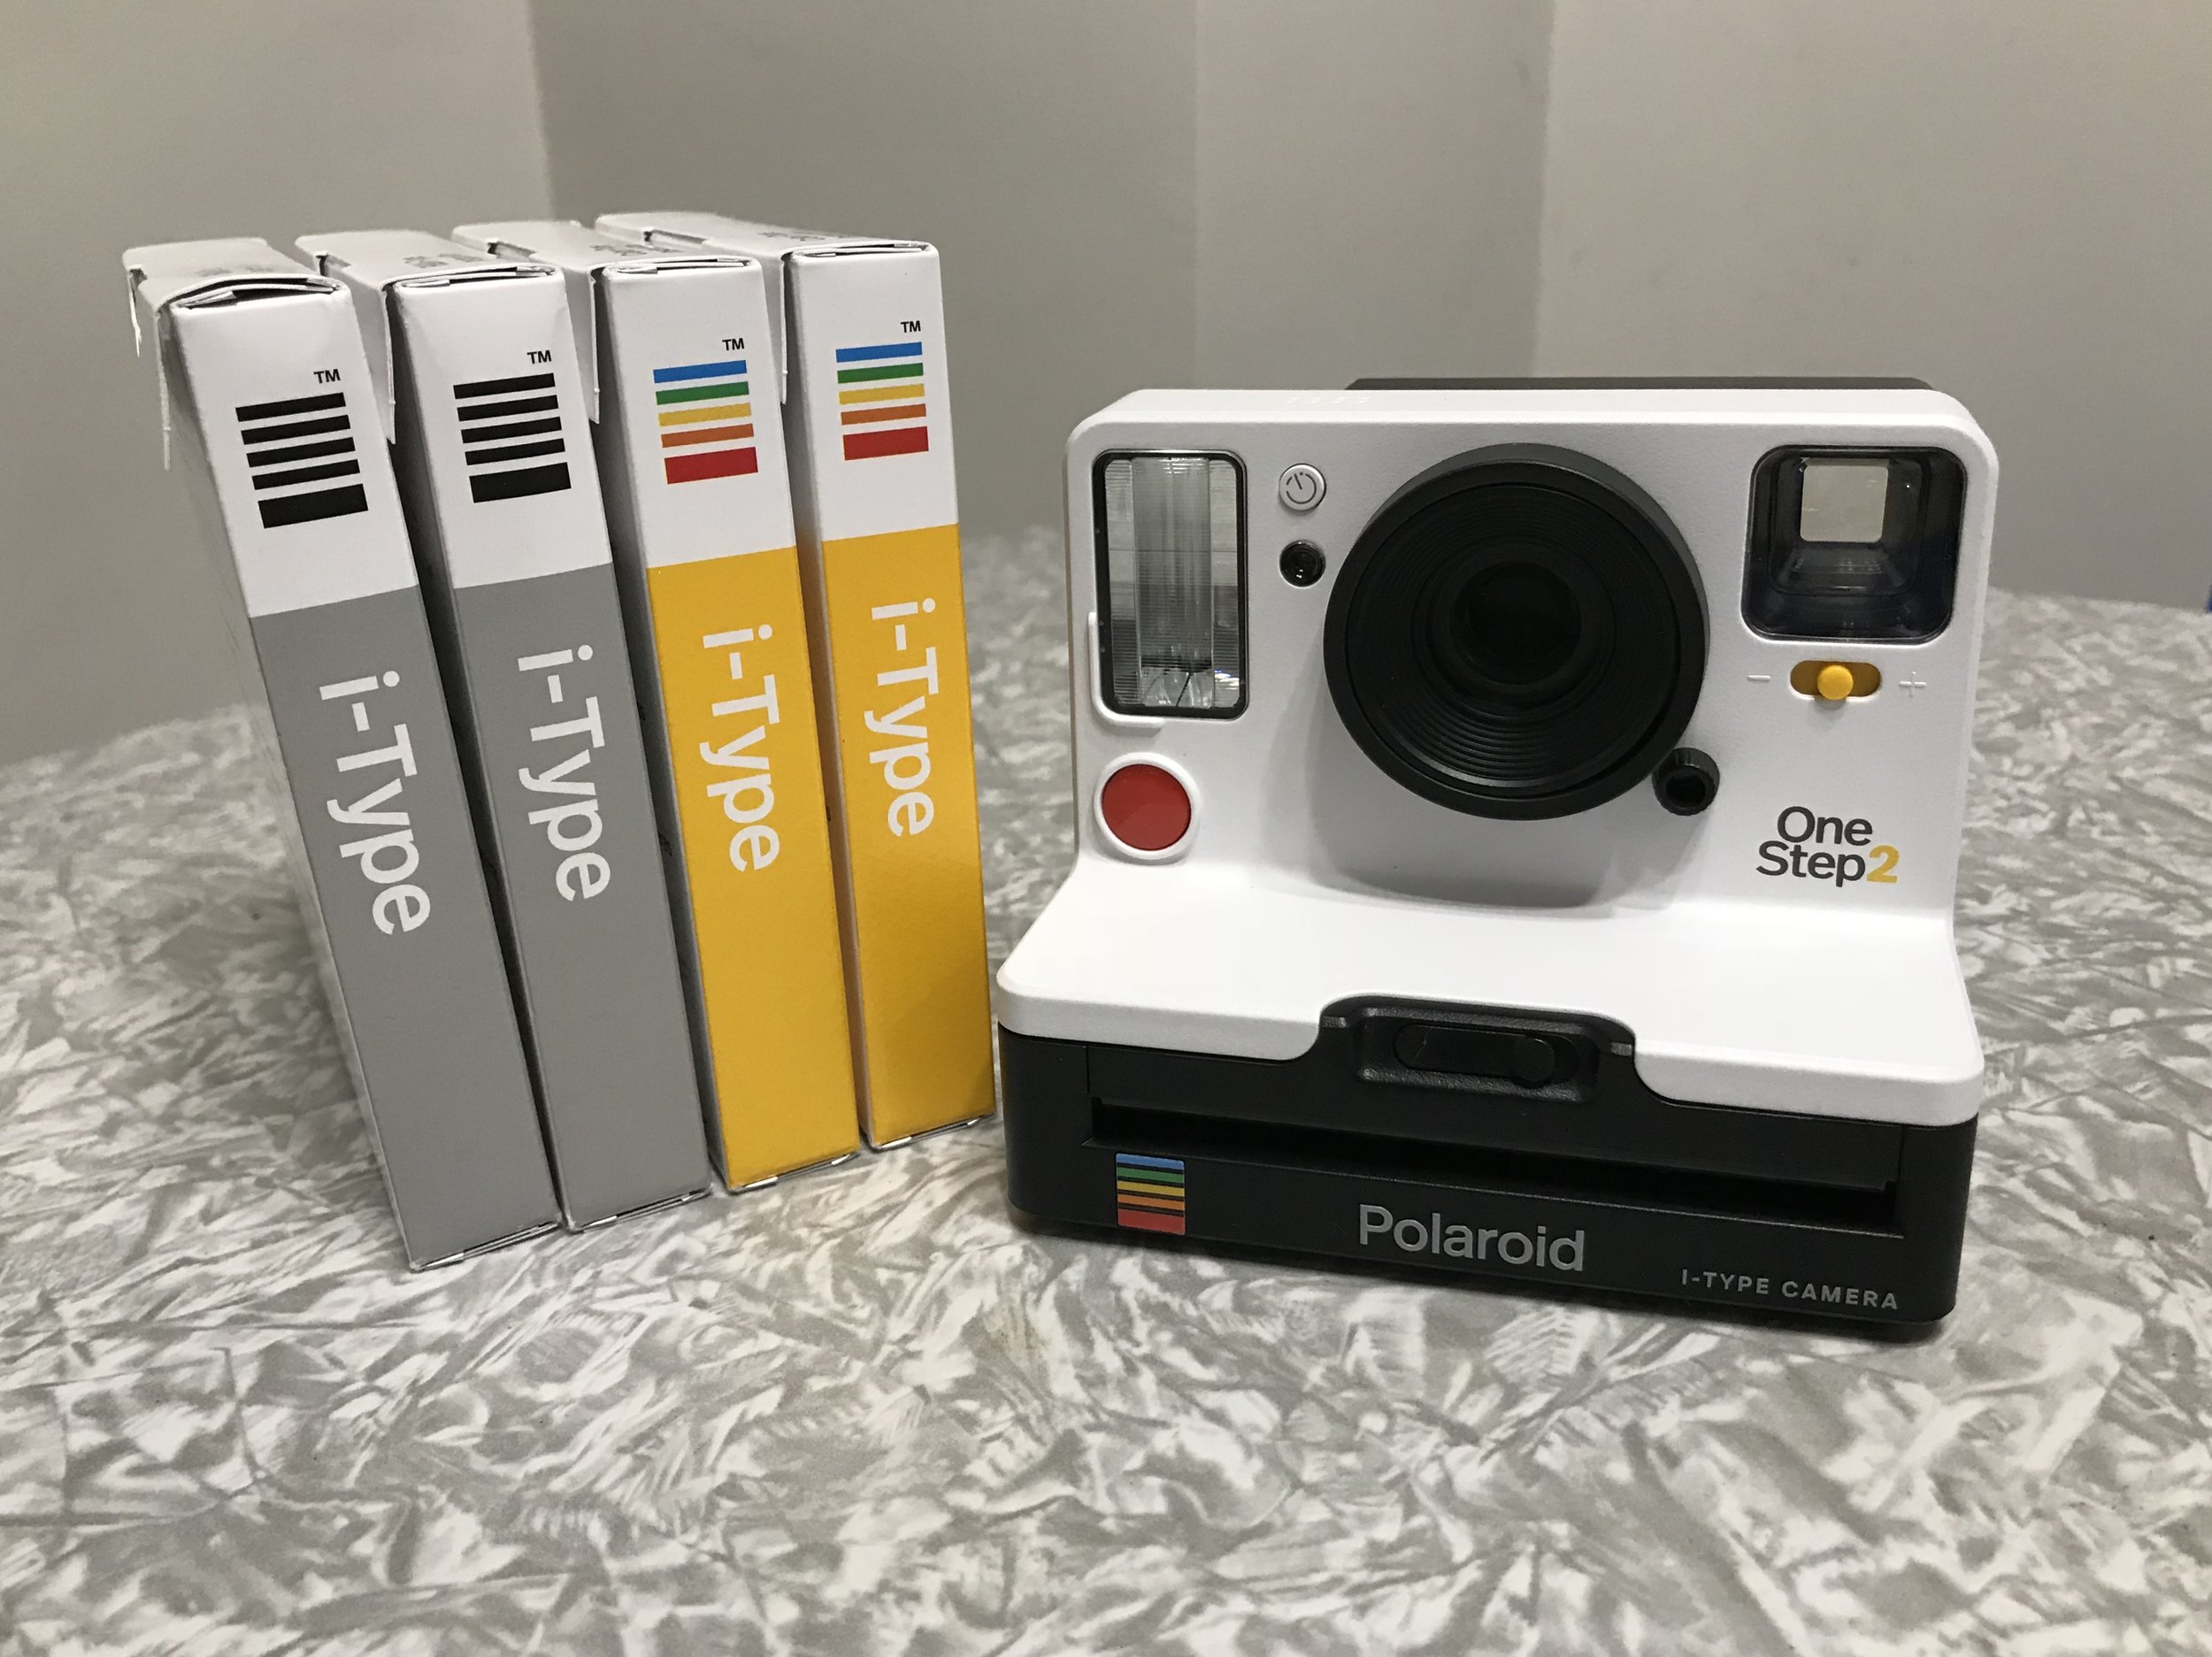
Polaroid OneStep 2
I usually find out about new cameras from several blogs that I follow and from Kickstarter campaigns that I back, but I was caught off guard when Polaroid announced the OneStep 2. Being the camera addict that I am, and also that it was a new instant film camera, I couldn't restrain myself from pre-ordering one. I signed up for the newsletter which gave me a 10% discount on the camera and the initial purchase of film that I made.
The Onestep 2 looks much like its predecessor, the iconic Rainbow Polaroid OneStep, with the addition of an on camera flash. I have one of the original OneStep cameras, a Sears Special version, with a very large attachable flash unit. I took the OneStep off my Polaroid camera shelf and put a pack of the new Polaroid Originals film through it in anticipation of receiving the OneStep 2.
After waiting impatiently and emailing Polaroid Originals about the delivery of the OneStep 2, I finally received it a couple of days after the launch date of October 16th. I just assumed that when you pre-order a new camera, that it would be delivered before it was actually available on the store shelf to other customers.
Nonetheless, I am extremely happy with my purchase of the OneStep 2. I only think now that I should have gotten the graphite color to be less conspicuous when shooting photographs on the street and to better hide the eventual spots of dirt.
The camera operation is pretty straightforward - point camera at subject, press red button. The flash can be turned off if desired, but the flash is recommended. There is also a timer. That's about it for features.
In my experience with the camera so far, I need to get better at framing my shots for the parallax correction. The minimum focusing distance is two feet, with anything beyond that being in focus.
The new Polaroid Originals I-type film performs well, only that I found the need to set the exposure to the minus side on the OneStep 2. Love the camera and the new film!
Fuji Instax Wide Monochrome
There were murmurs in the Worldwide Instax Shooters group on Facebook that Fuji Instax Wide Monochrome had been spotted in the wild. Regularly checking the updates in the group lead to a post by the admin that he had purchased several packs at Best Buy and that there was a multi-pack purchase discount. I immediately went to the Best Buy website and purchased three packs and waited for my shipment to arrive. With the multi-pack purchase discount, each pack averaged just over $14. I thought I would order a few more packs and was able to place an additional order to pick up at my local Best Buy. When I went to pick up my order, I browsed their instant camera and film section and saw that they also carried the new Polaroid OneStep2 and Polaroid Originals film. After a quick check of the online pricing, I discovered that the multi-pack purchase discount was also available on Polaroid Originals Film! But they only had one pack in the store. I was able to order 3 packs of I-type film for my new Polaroid OneStep2 at at discount to pick up later, averaging just over $12 per pack.
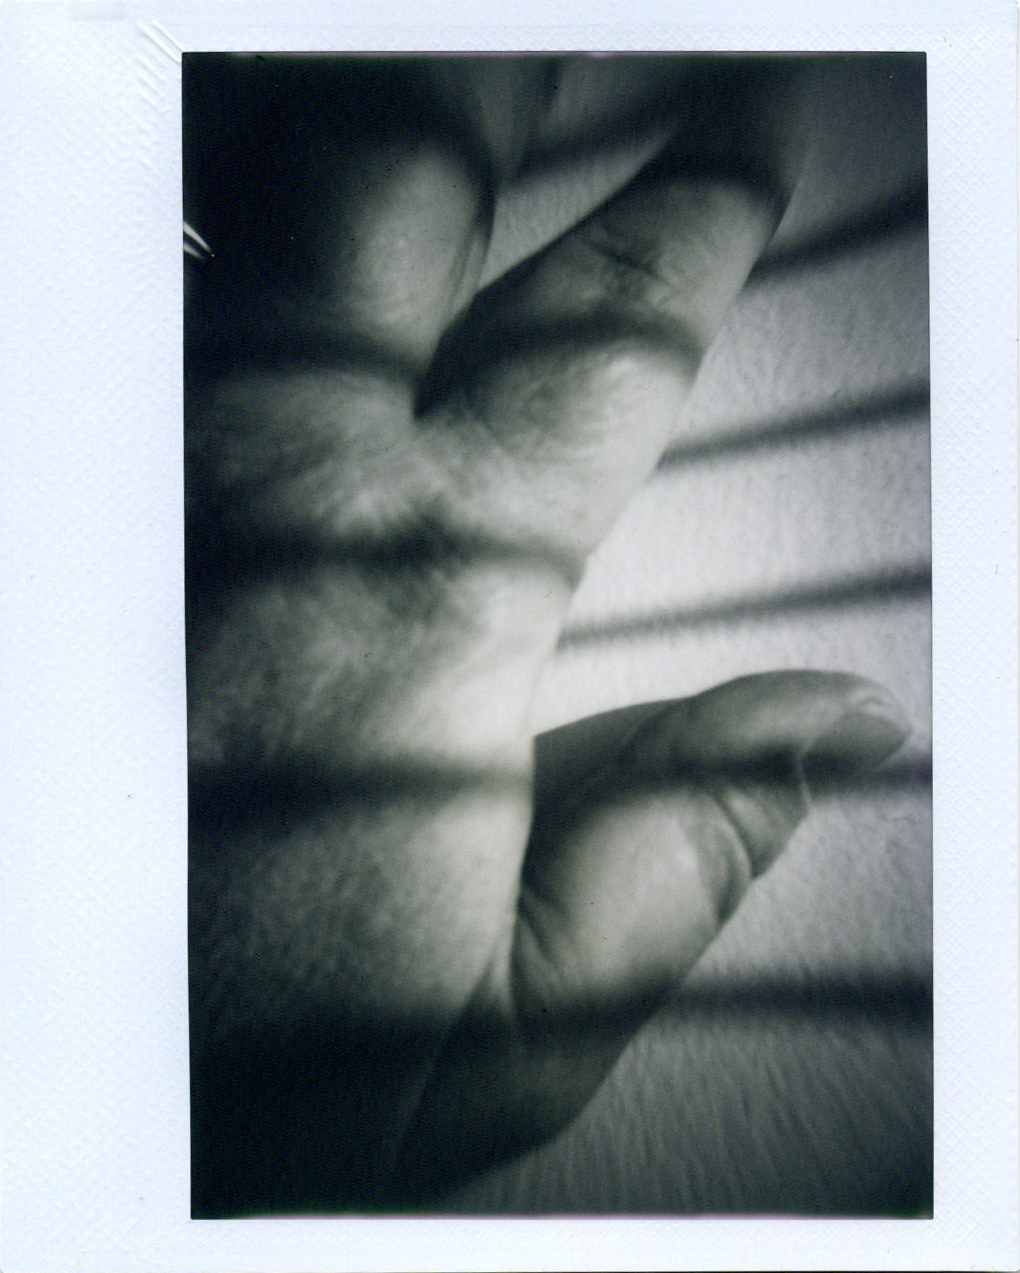
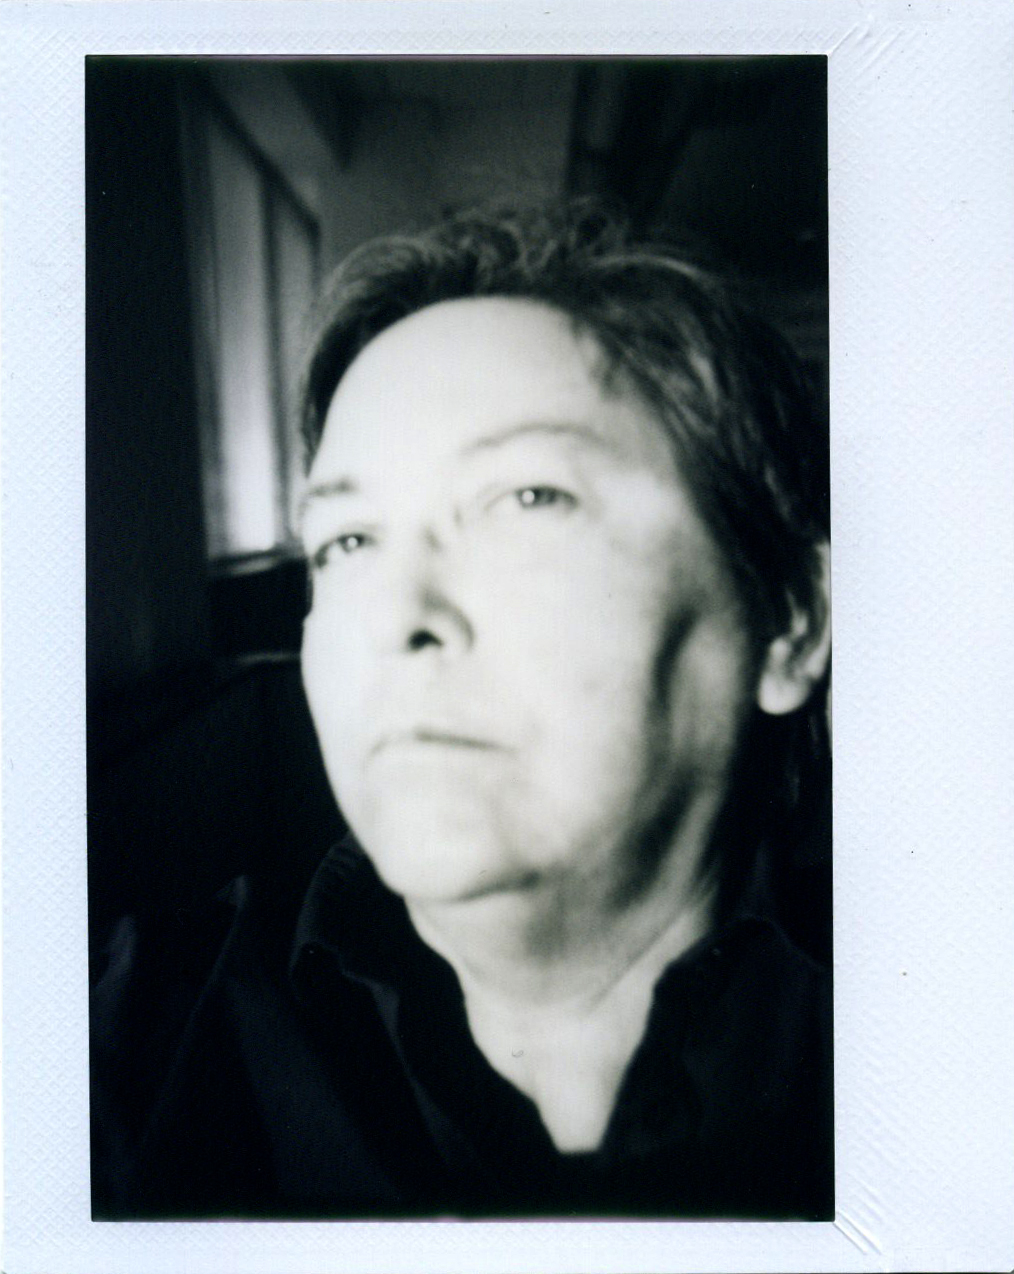
So here are a few test shots of the Instax Wide Monochrome Film using my Lomo'Instant Wide camera. For lack of a better subject or opportunity to photograph outside, these are a few self-portraits.
Polaroid 110A/Instax Wide Conversion Project
I recently joined the Worldwide Instax Shooters group on Facebook and was inspired to attempt a Polaroid 110A conversion project. There was a post about a Polaroid 110A/B conversion where a hacked Instax 210 Wide camera was attached to the back of the Polaroid to take advantage of the professional quality lens on the camera.
I searched Craigslist and came up with this very nice condition Polaroid 110A with a Rodenstock Ysarex 127mm lens, only the shutter is a little sticky, possibly requiring a disassembly and cleaning. I've been searching the interwebs and reading as much as I can to get information on how I can do this and also the conversion project on my own.
I will need to gather a few items, such as a lens spanner tool, Ronsinol or denatured alchohol, and a healthy dose of confidence to tackle this project, probably sometime this fall and winter. For the Polaroid 110A/Instax Wide conversion I will need a donor Instax 210 Wide camera. Though I have one already, I would prefer to get another one as the one I have is in perfectly good condition to continue using.
Look for future posts about the project as I go along.
26 Instax Packs - #26
26 Instax Packs - #26 - Candy Pop Instax Mini Frame in Diana F+ with Lomography Instant Back using Splitzer attachment. It took me a few tries to figure out how to use this attachment, it was kind of confusing trying to get the effect I wanted with two halves facing away from each other. I also experimented with double exposures. I should have changed the aperture setting to cloudy as several of the photos came out way underexposed. The frame is very cool though, I would like to get more. This concludes my six-month #26 Instax Packs project, but I will continue to experiment and use more of the unusual Instax Mini frames available.
26 Instax Packs - #25
26 Instax Packs - #25 - Finding Dory Instax Mini Frame in Lomo-Instant Automat at the National Aquarium in Baltimore, MD. I thought the subject of shooting at the aquarium would be a good match for this character frame, but I was disappointed with most of the shots I made. I had thought that using a polarizing filter on the camera would cut down on the glare from the glass and water, but unfortunately, the aquarium displays were very dark and didn't reproduce well. I also forgot to bring my closeup lens, which would have made for more interesting shots of the jellyfish. I did manage to shoot two other packs of film that day that turned out a little better. Some were outside around the inner harbor.
26 Instax Packs - #24
26 Instax Packs - #24 - Solarization effect using the original Kickstarter Lomo'Instant camera with Hello Kitty Instax Mini Film. This effect is created by attaching the close up lens on the Lomo'Instant Camera, using 1m-inf focus setting, with flash, set at +2 exposure compensation.
It's an interesting effect, that is somewhat unpredictable, but then so is practicing lomographic photography. I think the results came out pretty nice, and I would like to try this again.
26 Instax Packs - #23
26 Instax Packs - #23 - Light Painting with Star Wars Instax Mini Frame in Lomo'Instant Automat. I shot through a entire pack of film in about 20 minutes one morning before work, experimenting with light painting using the Lomo'Instant Automat in bulb mode triggering the shutter with the remote control lens cap.
The light I used was the one that was included with Lomo'Instant Wide box set from a couple of years ago, I had never tried it out. Though light painting was interesting, I think it could be a lot more fun with a few of your friends and a small flashlight.


