• Pho-Art Blog
  • Artists Sketch Club
  • Work
  • About
  • Contact
Menu

judy m boyle

  • Pho-Art Blog
  • Artists Sketch Club
  • Work
  • About
  • Contact

Fuji Instax Square SQ10 Camera

June 2, 2017
View fullsize basilica.jpg
View fullsize door.jpg
View fullsize IMG_0421.jpeg
View fullsize modern_steps.jpg
View fullsize stairs.jpg
View fullsize tio_pepes.jpg
View fullsize IMG_0419.jpeg
View fullsize IMG_0420.jpeg
View fullsize IMG_0434.jpeg
View fullsize IMG_0435.jpeg
View fullsize IMG_0436.jpeg
View fullsize IMG_0437.jpeg

Week 21 - Fuji Instax Square SQ10 Camera - I have been eagerly awaiting the new Fuji Instax square format camera and film since it was announced last fall and I was able to order one on release day, May 19th. My package arrived the following Monday and I set about charging it up and briefly looking at the instructions. I had already read about the specs in numerous reviews, and on the Fuji Instax Square website and watched all the YouTube video reviews I could find.

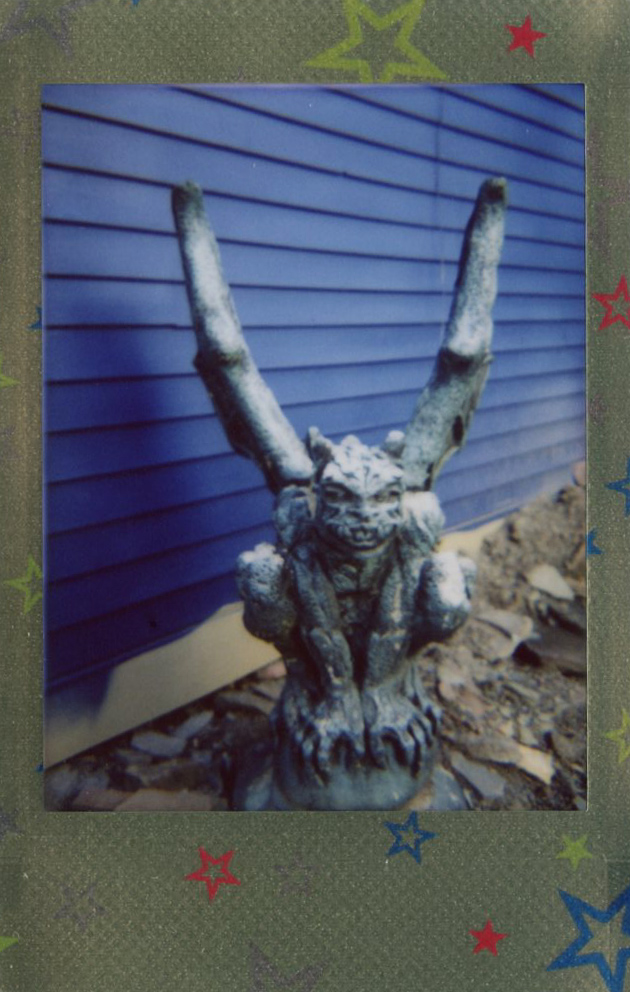
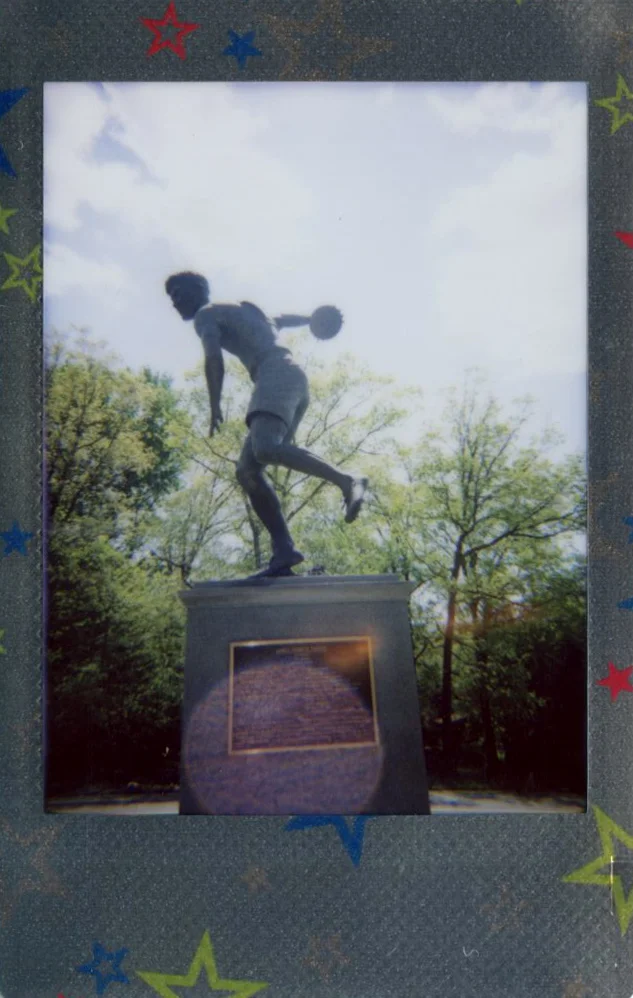
I've used two packs of Instax Square film with it so far and I really love the results. I like how I can use the LCD screen on the back of the camera to frame up my shot to get just what I want in the photo and also to make sure the horizontals and verticals are all lined up. Even after making the photo, I can edit it by zooming in, panning left/right, up/down to get the composition just right before printing. I like the editing features where I can add a little vignetting (darker or lighter) a look I really like in my photos. The filters are nice, the ones I like best are the monochrome and sepia ones. Brightness can be adjusted as well. After editing, you can choose to print the photo. I really like that I can go out and concentrate on shooting photos, come back and look through them and choose and edit which photos I want to print. I can make additional prints, make further edits or go back to the original photo setting if I choose. The camera can also be used for traditional instant photo shooting where the photo comes out right after you take the picture.

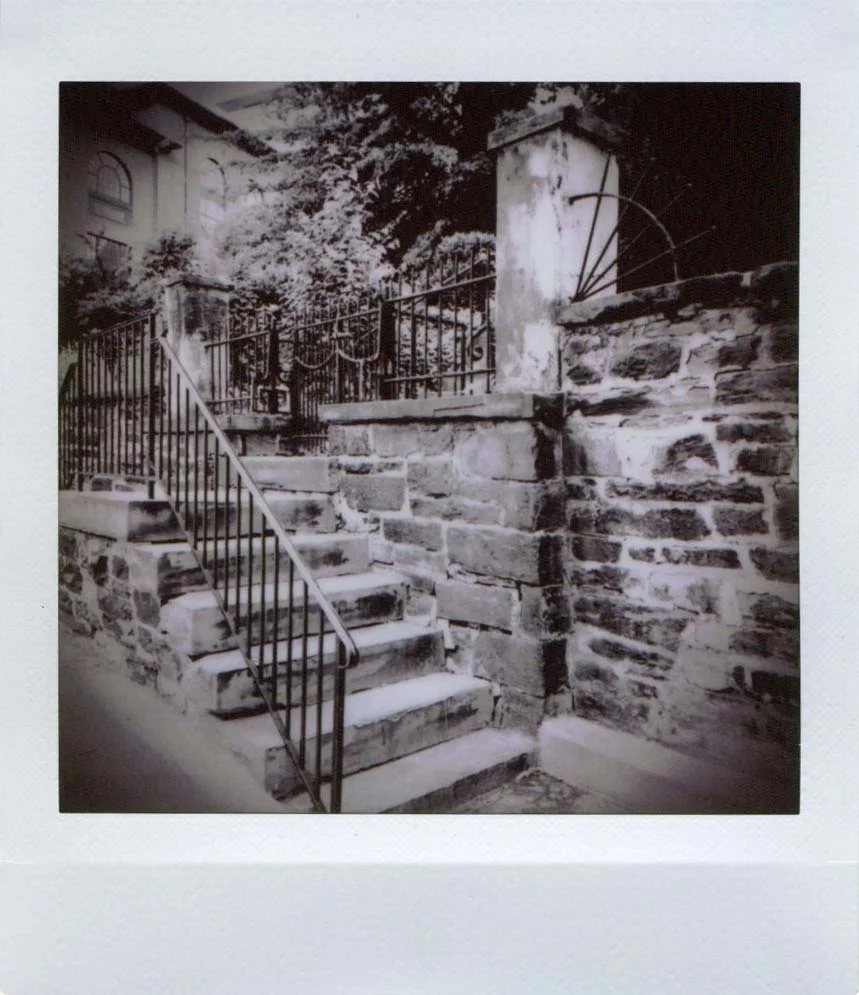
Another thing that I'd been playing around with is that photos taken on other cameras can be printed from the SQ10. The files have to be saved with four letters and four numbers in the jpeg format into the root folder of the micro sd card that goes into the camera. Files from my iphone worked just fine, but I found that photos I had shot and scanned from film negatives required a little workaround to be read by the camera. I opened the files in Pixlr and saved them as jpegs with the exif data removed, and that seemed to work. I think it's neat that I can print photo scans from film negatives that were shot with some of the vintage cameras in my collection as well as my Holga. This may seem like a lot of trouble to go through, but then isn't film photography more fun when doing things the long way?

I haven't explored the bulb mode or the double exposure setting yet, but overall I am really pleased with the camera. I feel like now I will get many more keepers out of my instax photos than the sometimes hit or miss results of traditional instax and other cameras that use instax film.


In Film Photography, Instant Photography, 2017 Create-A-Thon Tags Fuji Instax Square SQ10, instax square, instax, monochrome, sepia, filters, fuji instax
Comment
View fullsize yellow_troll.jpg
View fullsize blue_troll.jpg
View fullsize pink_troll.jpg
View fullsize boulder_field.jpg
View fullsize boulder_field_landscape.jpg
View fullsize peony_closeup.jpg
View fullsize peony_macro.jpg
View fullsize white_rose_blurry.jpg
View fullsize white_rose.jpg
View fullsize troll_family.jpg

26 Instax Packs - #9

June 1, 2017

26 Instax Packs - #9 - Fuji Instax Stained Glass frame in Lomo'Instant Automat. A couple of shots of Boulder Field at Hickory Run State Park and the others shot around our yard of flowers and my mom's troll collection. I really like the way the colors pop with the troll photos. It was early in the morning with a cloudy sky when I made those photos with the closeup lens on the Lomo'Instant Automat.

In 26 Instax Packs, Film Photography, Instant Photography Tags trolls, Lomo'Instant Automat, Fuji Instax Mini, Fuji Instax Stained Glass, close up lens, Boulder Field
Comment
View fullsize gargoyle.jpg
View fullsize old_jail.jpg
View fullsize yellow_tree_blooms.jpg
View fullsize pastel_tires.jpg
View fullsize race_street.jpg
View fullsize jim_thorpe_olympian.jpg
View fullsize jim_thorpe_memorial_sculpture.jpg
View fullsize jim_thorpe_football_player.jpg
View fullsize boulder_field.jpg
View fullsize jim_thorpe_jail.jpg

26 Instax Packs - #8

May 27, 2017

26 Instax Packs - #8 - Fuji Instax Mini Shiny Star Frame in Lomo'Instant Automat shot around Jim Thorpe, PA. This film looks way better in person, because the border is shiny, like foil, which doesn't show in the scans. This pack performed better than the last. I like the nice lomographic lighting effect of the Jim Thorpe Olympian statue.

In 26 Instax Packs, Film Photography, Instant Photography Tags 26 Instax packs., fuji instax mini shiny star, fuji instax mini, Lomo'Instant Automat, lomography, Jim Thorpe, film project
Comment
View fullsize desk_no_flash.jpg
View fullsize immaculate_conception.jpg
View fullsize molly_mcguires.jpg
View fullsize st_mark_and_st_john.jpg
View fullsize mauch_chunk_train_station.jpg
View fullsize clock_tower.jpg
View fullsize jim_thorpe_inn_desk.jpg
View fullsize old_jail.jpg
View fullsize traing_station_at_night.jpg
View fullsize view_from_flagstaff.jpg

26 Instax Packs - #7

May 25, 2017

26 Instax Packs - #7 - Fuji Instax Mini Airmail Frame shot around Jim Thorpe, PA with the Lomo'Instant Automat camera. The exposure was way off on most of these photos. I think that it was caused by my shooting into the evening sky causing the buildings to be in silhouette. The no flash, low light photo of the writing desk at the Jim Thorpe Inn looks nice as well as the view of Jim Thorpe from Flagstaff.

In 26 Instax Packs, Film Photography, Instant Photography Tags Lomo'Instant Automat, Fuji Instax Mini Airmail, Fuji Instax Mini, 26 Instax packs., Film Project
Comment

Inky Explorations

May 23, 2017
View fullsize trail_bamboo_pen.jpg
View fullsize jars_bamboo_pen.jpg
View fullsize pharoah_bamboo_pen.jpg
View fullsize statue_bamboo_pen.jpg
View fullsize plant_bamboo_pen.jpg
View fullsize monster_stick_and_ink.jpg
View fullsize roses_stick_and_ink.jpg
View fullsize dragon_stick_and_ink.jpg
View fullsize rooster_wash_and_pen.jpg

Week 20 - Experimenting with ink using an inexpensive bamboo pen, a stick, and ink wash with fountain pen details. I picked up a two pack of the bamboo pens at Hobby Lobby, and the stick from our backyard.

I was inspired to get out the bamboo pens after seeing a video from one of my subscribed channels on YouTube. I used photos of Egyptian Art that I had taken at the Walters Art Museum in Baltimore for sketching ideas. I found drawing with the bamboo pen allowed for some variation in the lines and sometimes distributed blobs of ink that were unpredictable, but I like the results. I especially liked the Liquitex Muted Inks with these pens. I have four of the five colors in the line - violet, turquoise, green and pink. I may pick up the last color, gray, at some point.

My niece is studying to be a graphic designer and she showed me one of her college projects made with stick and ink, so I thought I would try that out. Drawing with the stick was even more unpredictable than the bamboo pen and it was easy to make loose, random strokes with it. I held it high away toward the end of the stick, allowing for a less controlled line, the effect is very sketchy. I also liked the Liquitex Muted Inks better with the stick.

I only tried one wash and ink line drawing, the last of the day. This exercise was described in the book, Art Before Breakfast, by Danny Gregory, a great book filled with creative ways to get you drawing more. I like the results with this as well, and may experiment with that technique using different colors of ink.

Next up in Create-A-Thon 2017, a year long creative exploration - Derwent Inktense Pencils.


In 2017 Create-A-Thon, Artwork Tags Liquitex Ink!, Liquitex Ink! Muted Colors, bamboo pen, stick drawing, stick and ink, create_a_thon2017, ink explorations
Comment
IMG_0143.JPG

Yupo Paper

May 16, 2017
View fullsize FullSizeRender 6.jpg
View fullsize IMG_0142.JPG
View fullsize IMG_0146.JPG
View fullsize IMG_0139.JPG
View fullsize IMG_0150.JPG

Week 19 - Trying out Yupo Paper. Brenda bought me two sizes of Yupo paper pads for my birthday and I finally got around to trying it out this week. I had used a sheet of it earlier with Winsor and Newton Pigment Markers and I liked the results with that.

I didn't get to experiment with Yupo much during the week but spent all day in my studio with it on Saturday. The surface of the paper is a matte surface with a dull sheen, not slippery or shiny like you would think a plastic synthetic paper would be. The surface is waterproof, so waterbased mediums do not absorb into the paper, but instead the water evaporates and leaves just the pigment.

I tried Yupo with my Winsor and Newton artist quality watercolors, non-waterproof Higgins black ink, and Marabu Mixed Media art spray. Since the mediums don't absorb into the paper, they can be wiped away before or after drying to create interesting effects. I played around with the different mediums, creating several abstract pieces. I also tried a floral painting of plants in a pot. It was very therapeutic and relaxing to spend hours in my studio experimenting. I'm not entirely sure I like any of the pieces that I created, but there is room for more experimentation.

Next up in Create-A-Thon 2017, a year long creative exploration - drawing with Bamboo pen, stick and ink, and loose ink wash with pen detail.

In 2017 Create-A-Thon, Artwork Tags yupo paper, mixed media, create_a_thon2017, abstract art
Comment

Painting En Plein Air

May 5, 2017

Week 18 - Painting En Plein Air. I had chosen to do this activity during the same week as Digital Collage for a contrast in working styles and also because I could work with one when I couldn't work with the other. 

For the first time trying plein air painting, I packed up my French Field Easel which is usually set up as my studio easel, and helped Brenda get set up with another easel of mine. We headed out to Codorus State Park near the Mary Ann Furnace Trail where the overflow parking is located. There is an old barn there that Brenda made a painting of and I painted a distant hill with trees. I used an inexpensive water mixable oil paint set for the first time and found them stiff at first, but added in Acrylic gloss medium and they went on better. The weather was in the mid seventies, with sunny skies and swirly clouds. The sounds of nature and the occasional car passing on the road below with butterflies bouncing among the tall grass in the field, was also quite pleasant.

We had a couple of ladies out walking their dogs briefly stop to check on what we were painting. Nothing too traumatic, but one of my fears while out painting, that I might actually have to talk to a stranger about what I'm doing. 

Setting up and taking down my French Field Easel was also problem free, thankfully. The time passed quickly and I thoroughly enjoyed the experience. Brenda had some difficulty painting with the easel I had put together for her, so after watching several plein air painting videos on YouTube and seeing different Pochade Boxes with their fancy straps and drawers, we set about making our own inexpensive Pochade Boxes out of wooden sketching boxes bought from A.C. Moore.

The process involved inserting 1/4 - 20 T-Nuts in the bottom of the boxes allowing them to be mounted on a tripod. We bought inexpensive wooden rulers and used screws to make a brace to keep the lids open while painting and added a bungie cord setup to hold our canvas boards in place while we painted. They fit quite nicely in a backpack with our tripods and other painting essentials. We tried them out on Sunday at another part of Codorus State Park and they worked quite well, though now we feel it is time to invest in better quality paints.

Now that I've experienced Plein Air Painting, it is definitely something I want to do more of this summer and fall. If I continue to enjoy painting en plein air, I may invest in a better quality pochade box, but for now this one is pretty cool.

Next up in Create-A-Thon 2017, a yearlong creativity exploration - Experimenting with Yupo Paper.

In Artwork, 2017 Create-A-Thon Tags plein air, outdoor painting, codorus state park, Pochade Box, DIY Pochade Box, Homemade Pochade Box, Acrylic Painting
Comment
View fullsize frontporch.jpg
View fullsize across_the_street.jpg
View fullsize backyard.jpg
View fullsize dogwood.jpg
View fullsize dandelion.jpg
View fullsize front_porch.jpg
View fullsize honeysuckle_blurry.jpg
View fullsize honeysuckle.jpg
View fullsize shore_flowers.jpg
View fullsize underexposed.jpg

26 Instax Packs - #6

May 3, 2017

26 Instax Packs - #6 - Hanover, PA - Worldwide Pinhole Photography Day. I used the pinhole on the Diana F+ camera from Lomography with the Instax back and Fuji Instax Monochrome film. It was difficult to keep the camera steady on the tripod when activating the shutter to open the pinhole. More experimentation will be necessary.

In 26 Instax Packs, Instant Photography, Film Photography Tags WPPD, WPPD 2017, Worldwide Pinhole Photography Day, Pinhole, 26 Instax packs., Fuji Instax Mini Monochrome, Instax Monochrome, instant film, instant photography
Comment

Digital Collage on iPad Pro

April 30, 2017
IMG_1115 2.JPG
IMG_1128.JPG
IMG_1149.JPG

Week 17 - Digital Collage on iPad Pro 12.9" with Apple Pencil. My resources for these collages were my photographs that were digitally altered with Snapseed, Diptic, and Photoshop Mix using my iPad and iPhone. My clipped art resources were from several collections of permission free and copyright free vintage anatomy and clip art.

I prepared the clipped art files by isolating the images in photoshop on the desktop and then saving the files as png so that I could import them already clipped into Procreate on my iPad Pro. The files were saved to a cloud account where I can access them as needed on my iPad. It was very easy then to manipulate and combine the files into a digital collage. Procreate has some very nice brushes to allow for adding effects like the blood splatters and drips in the image above, titled "Three Heads in a Field." The background for that image was a photo from the landscape at Gettysburg, then edited in Snapseed and Photoshop Mix. The background photo was then mirrored in Diptic to create a surrealistic background to this haunting image of three anatomy heads floating above a field.

For "Marburg Skull," I combined a skull photo that I shot in Washington D.C. with another of my favorite things, tentacles, to create what I imagine is beneath Lake Marburg at Codorus State Park, which covers the old town of Marburg.

In "Heart of the Universe" I combined a vintage anatomical illustration of a human heart with a galaxy background that I had created in Procreate last year. I also added other vintage art and brush effects like the water waves brush to complete the piece.

Last night I worked on another, "Fish Filet" where I combined a background photo that I had shot out at Codorus State Park earlier in the week with vintage art illustrations from The Clip Art Book. The background was edited in Diptic, Photoshop Mix, and Snapseed, and the clipped art was colored with the Apple Pencil to create another surrealistic composition.

I really enjoyed working with this digital collage process and will continue to work on it this week when I'm not out painting en plein air with Brenda. Look for an upcoming post on Plein Air Painting coming up in the next few days.


In 2017 Create-A-Thon, Artwork Tags create_a_thon2017, Create-a-thon, 2017 Creative Project, iPad Pro, Apple Pencil, Procreate, Diptic, Snapseed, Photoshop Mix, Digital Art, Digital Collage
Comment

Watercolor Markers

April 23, 2017
View fullsize IMG_3442.JPG
View fullsize IMG_7510.JPG
View fullsize FullSizeRender 5.jpg
View fullsize FullSizeRender 4.jpg

Week 16 - Flower paintings with Winsor and Newton watercolor markers. I really like to paint with watercolor, so I eagerly purchased various colors of these Winsor and Newton watercolor markers about a year and half ago. It was recommended in several reviews of the markers to purchase the watercolor pad made specifically for these markers by Winsor and Newton for best performance and blending. I made a swatch chart of all the colors that I had purchased and tried them last summer during World Watercolor Month, but really wanted to spend more time with them to see if I could get better results.

I love this time of the year when the trees are blooming with spring blossoms, especially cherry blossoms and magnolias. We didn't have cherry blossoms at Mount Vernon Place in Baltimore this year, within walking distance of my office, so I didn't get to make any reference photos of those. But there is one magnolia tree a couple of blocks from our house in Hanover that I always want to take photos of in the spring that bloomed beautifully for my reference photos. I also took a few reference photos on Easter Sunday at a roadside flower stand when we stopped to purchase an Easter bouquet for my mother-in-law.

I've watched numerous how-to videos with tips on how to use these markers, and tried some of those techniques when I made paintings in my sketchbook this week. I started out with light pencil sketches, and picked two colors to blend and made beginning strokes with those, using a light hand. The markers activate very well with water and it's easiest to blend colors if activating the lighter color first, then blending the darker one into it. I used this technique on the first sketches, but I thought the resulting sketches were a bit too tight, not having a watercolor, sketchy quality. I also found it difficult to get an even wash with the Phthalo Blue for a light background. It might have worked better to use the markers on a palette and add light washes from that.

I tried a looser technique with the last sketch that I made this morning of roadside tulips and was pleased with how that turned out. I didn't get to use all the colors in my stash, but I feel that I have a better idea of how these work and could make improvements in my sketches with them.

Next up in Create-A-Thon 2017, a yearlong creativity exploration project - digital collage on iPad pro and plein air painting.

Comment
← Newer Posts Older Posts →

Latest Posts

Featured
Dec 1, 2023
First sketch in a while
Dec 1, 2023
Dec 1, 2023
Nov 24, 2023
My first juried art show piece
Nov 24, 2023
Nov 24, 2023
Oct 26, 2023
Haunted Childhood Memories
Oct 26, 2023
Oct 26, 2023
Apr 30, 2023
New Design In My Artist Shop - CATSTRONAUT
Apr 30, 2023
Apr 30, 2023
Apr 11, 2023
Smoove Catz abc’S of coffee - Moka Pot
Apr 11, 2023
Apr 11, 2023
Apr 8, 2023
New Design in My Artist Shop - Photo Skully T-Shirts
Apr 8, 2023
Apr 8, 2023
Nov 13, 2022
Daily Sketch #18
Nov 13, 2022
Nov 13, 2022
Nov 13, 2022
Daily Sketch #17
Nov 13, 2022
Nov 13, 2022
Nov 13, 2022
Daily Sketch #16
Nov 13, 2022
Nov 13, 2022
Nov 5, 2022
Daily Sketch #15
Nov 5, 2022
Nov 5, 2022